Creating & Editing a Questionnaire - Article
Summary
Questionnaires allow administrators to collect structured information from users through configurable forms. They support surveys, intake workflows, and automation scenarios where responses can influence enrollment decisions, profile data, or follow-up actions within the platform.
In this article you will learn:
- How to create and configure a questionnaire
- How to add and structure questions using different question types
- How to edit and manage existing questionnaires
- How questionnaire rules enable conditional questions and automation
Creating a Questionnaire
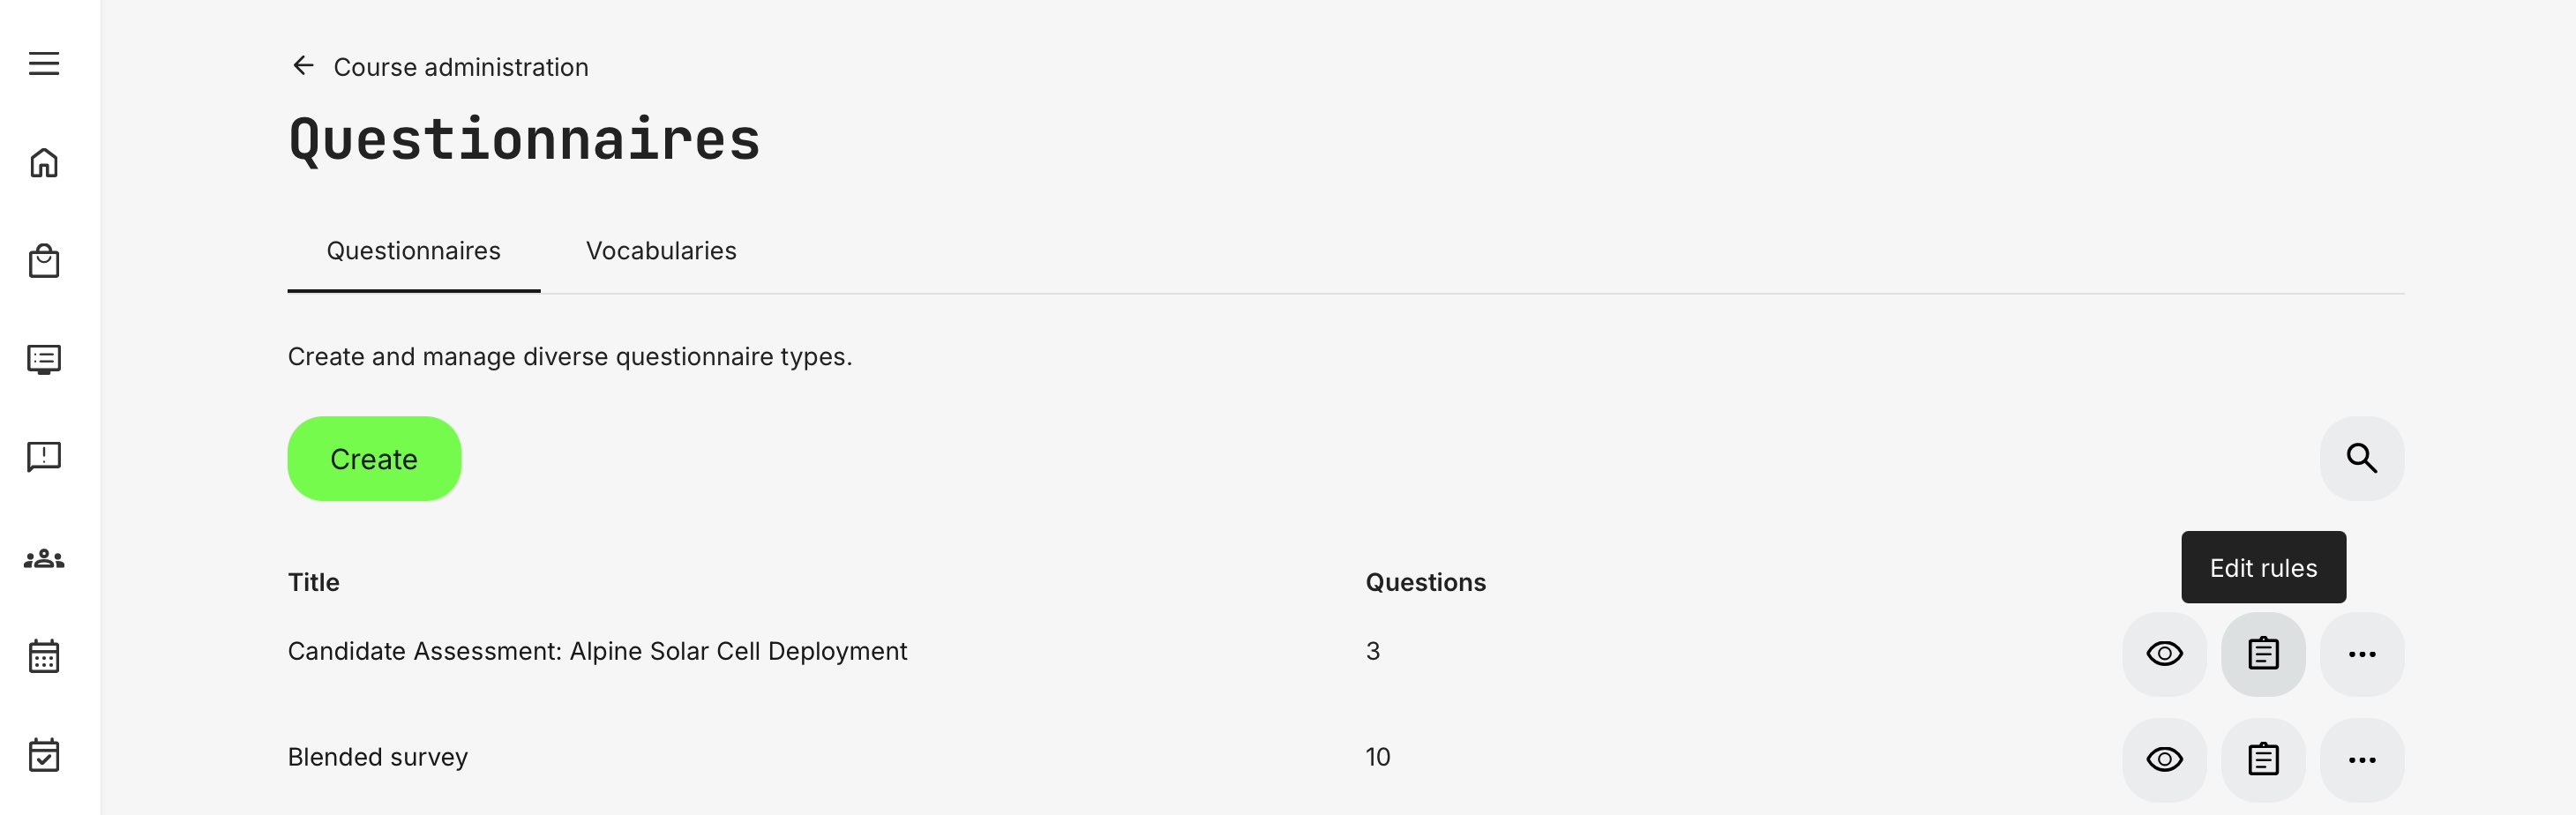
To create a questionnaire, you must navigate to the dedicated Questionnaires section within Course Administration.
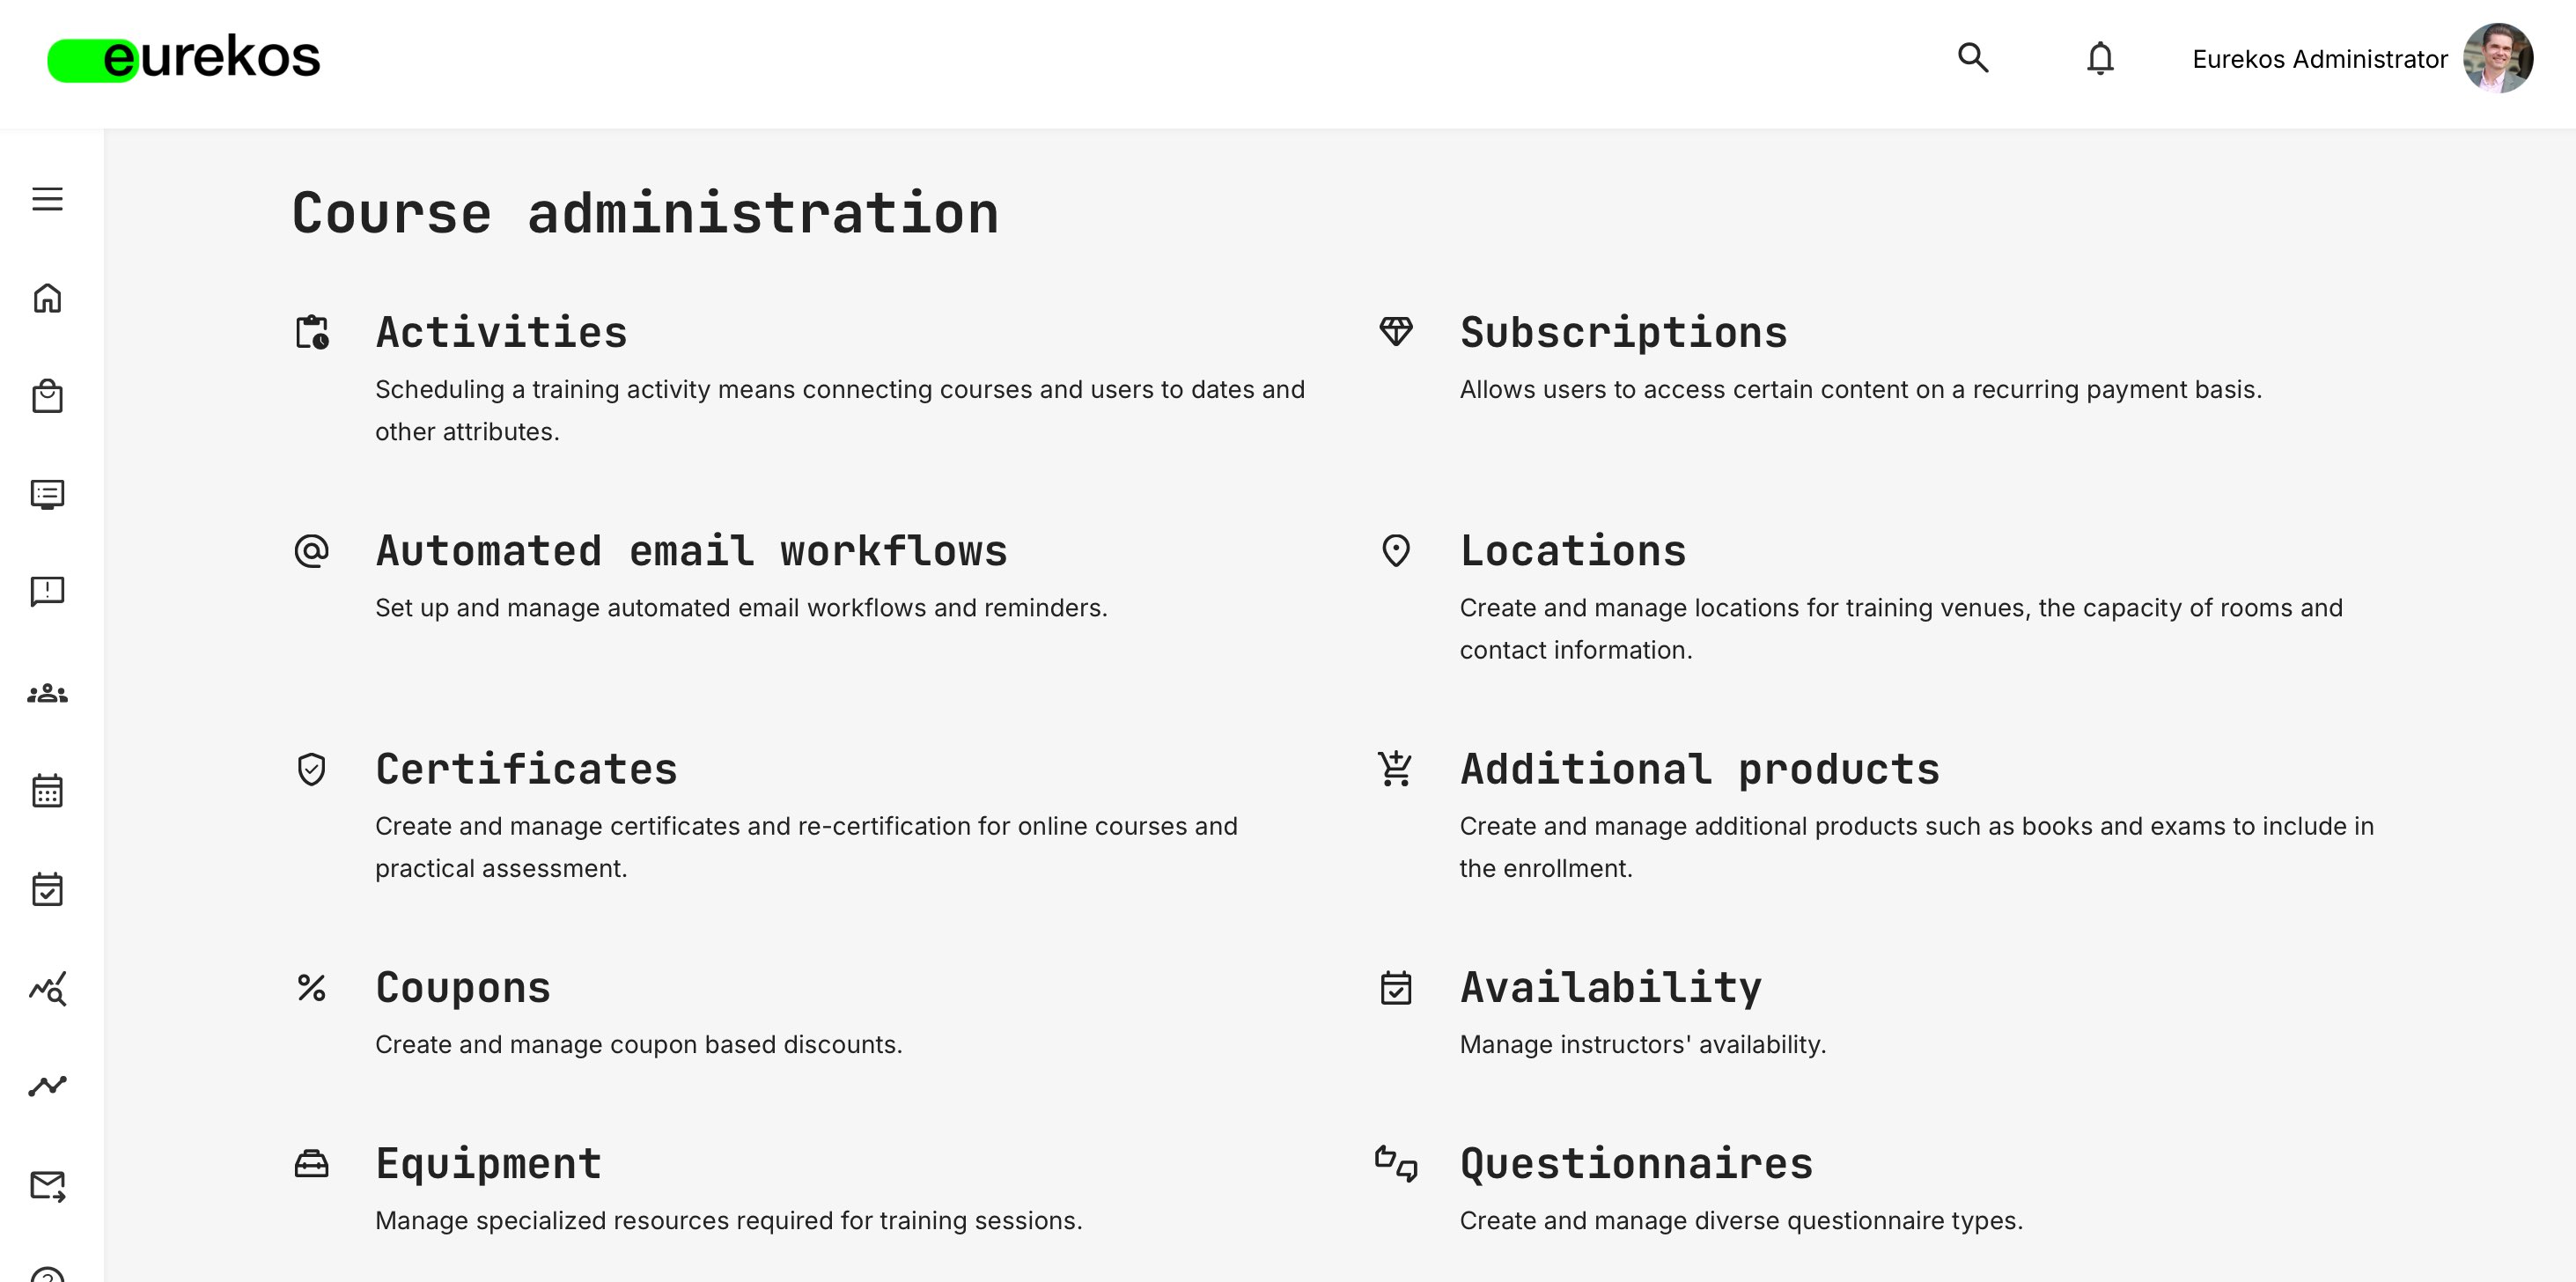
Here, you will find an overview of the existing questionnaires you have either created yourself or have been granted access to, as well as a [Create] button and a [Search] button – the latter allowing you to search the list of questionnaires by their titles.
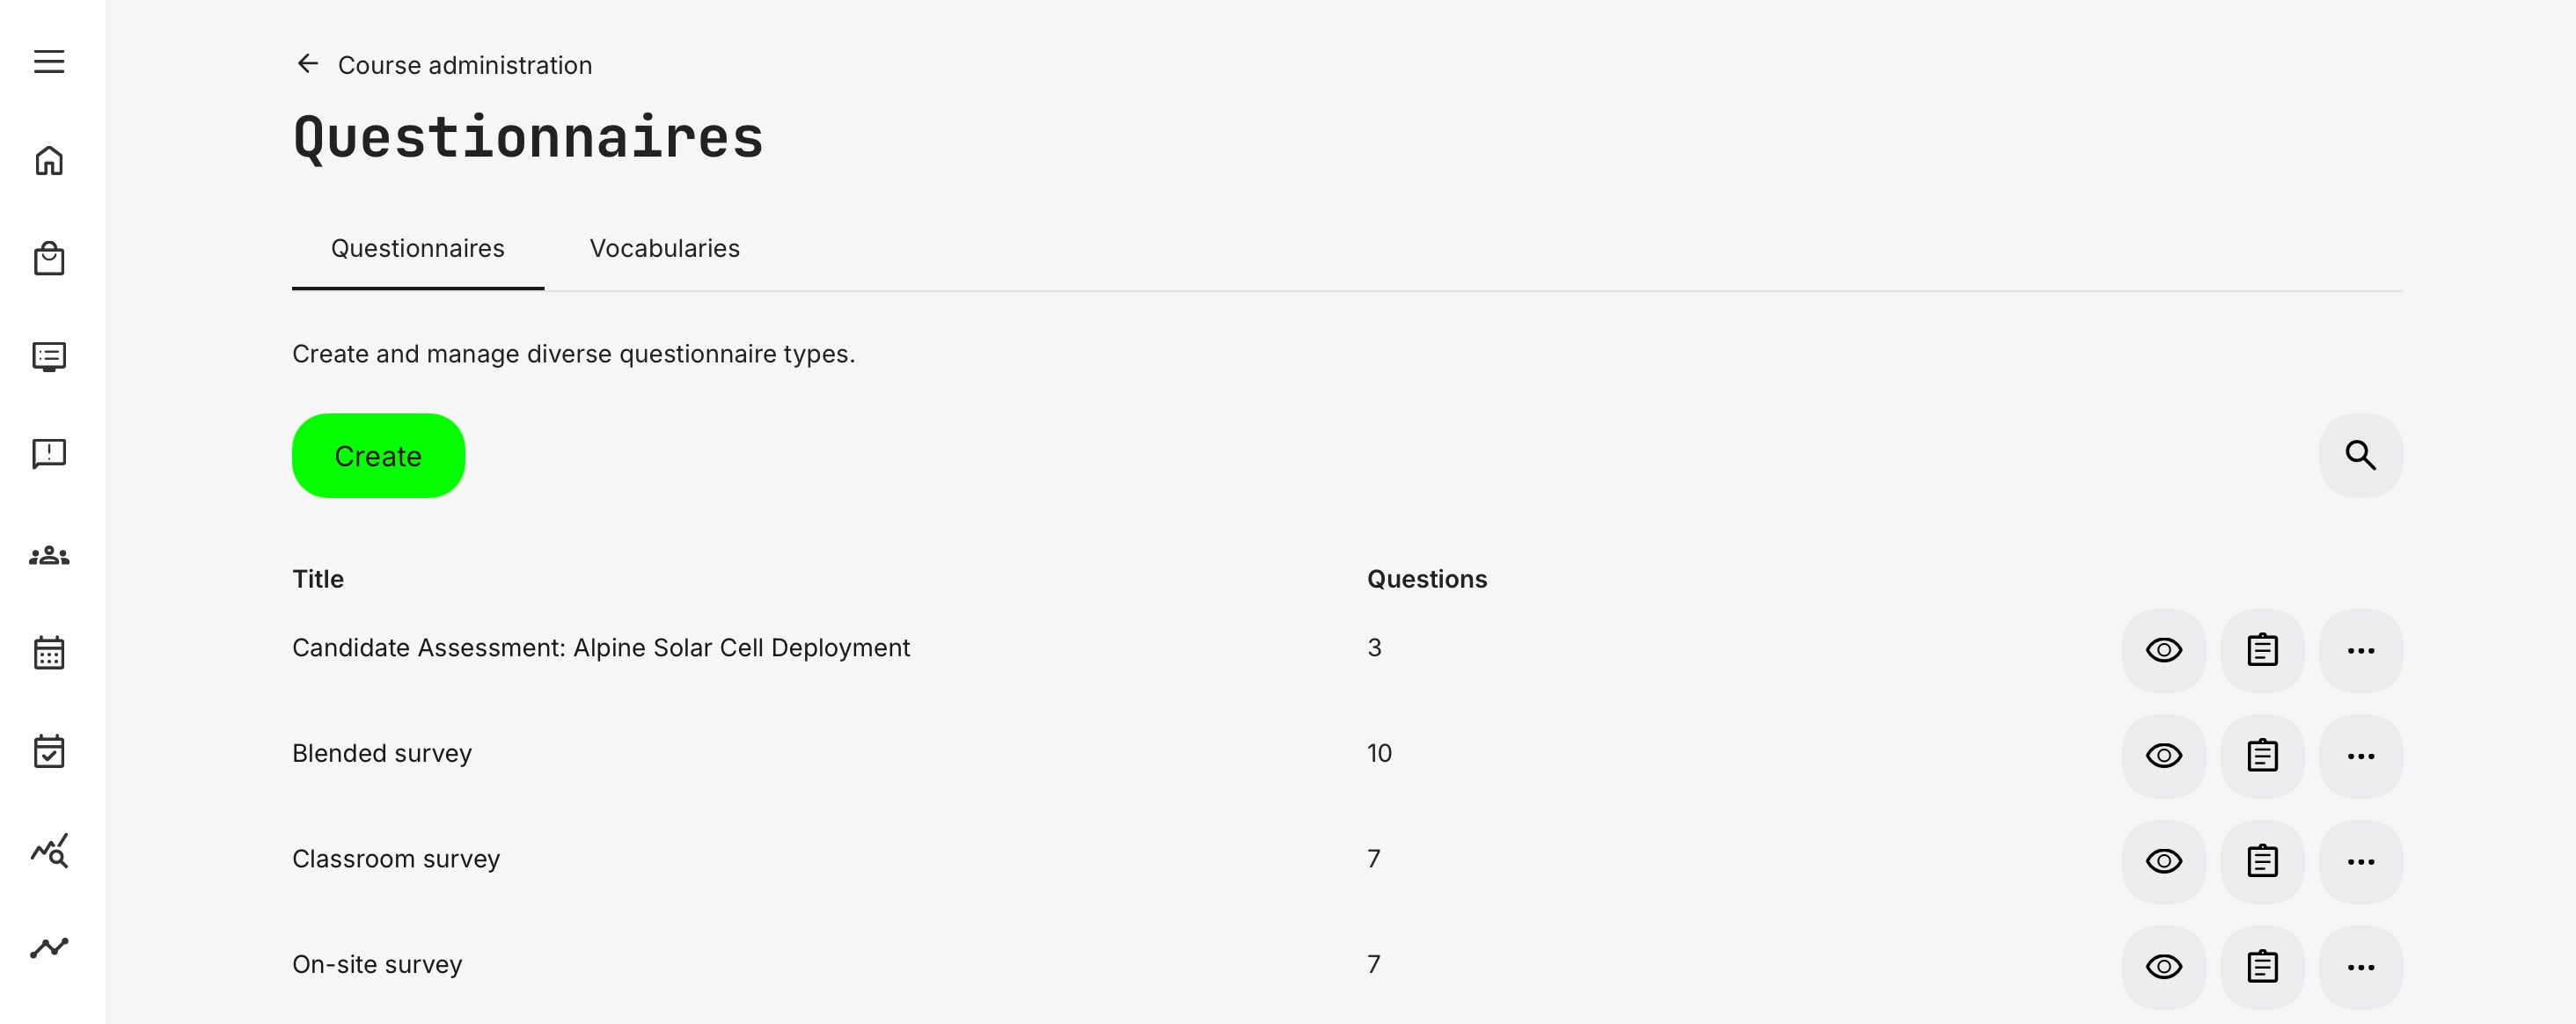
For now, click the [Create] button to proceed to the Questionnaire Creation page, where you will be required to fill out various core information for your new survey.
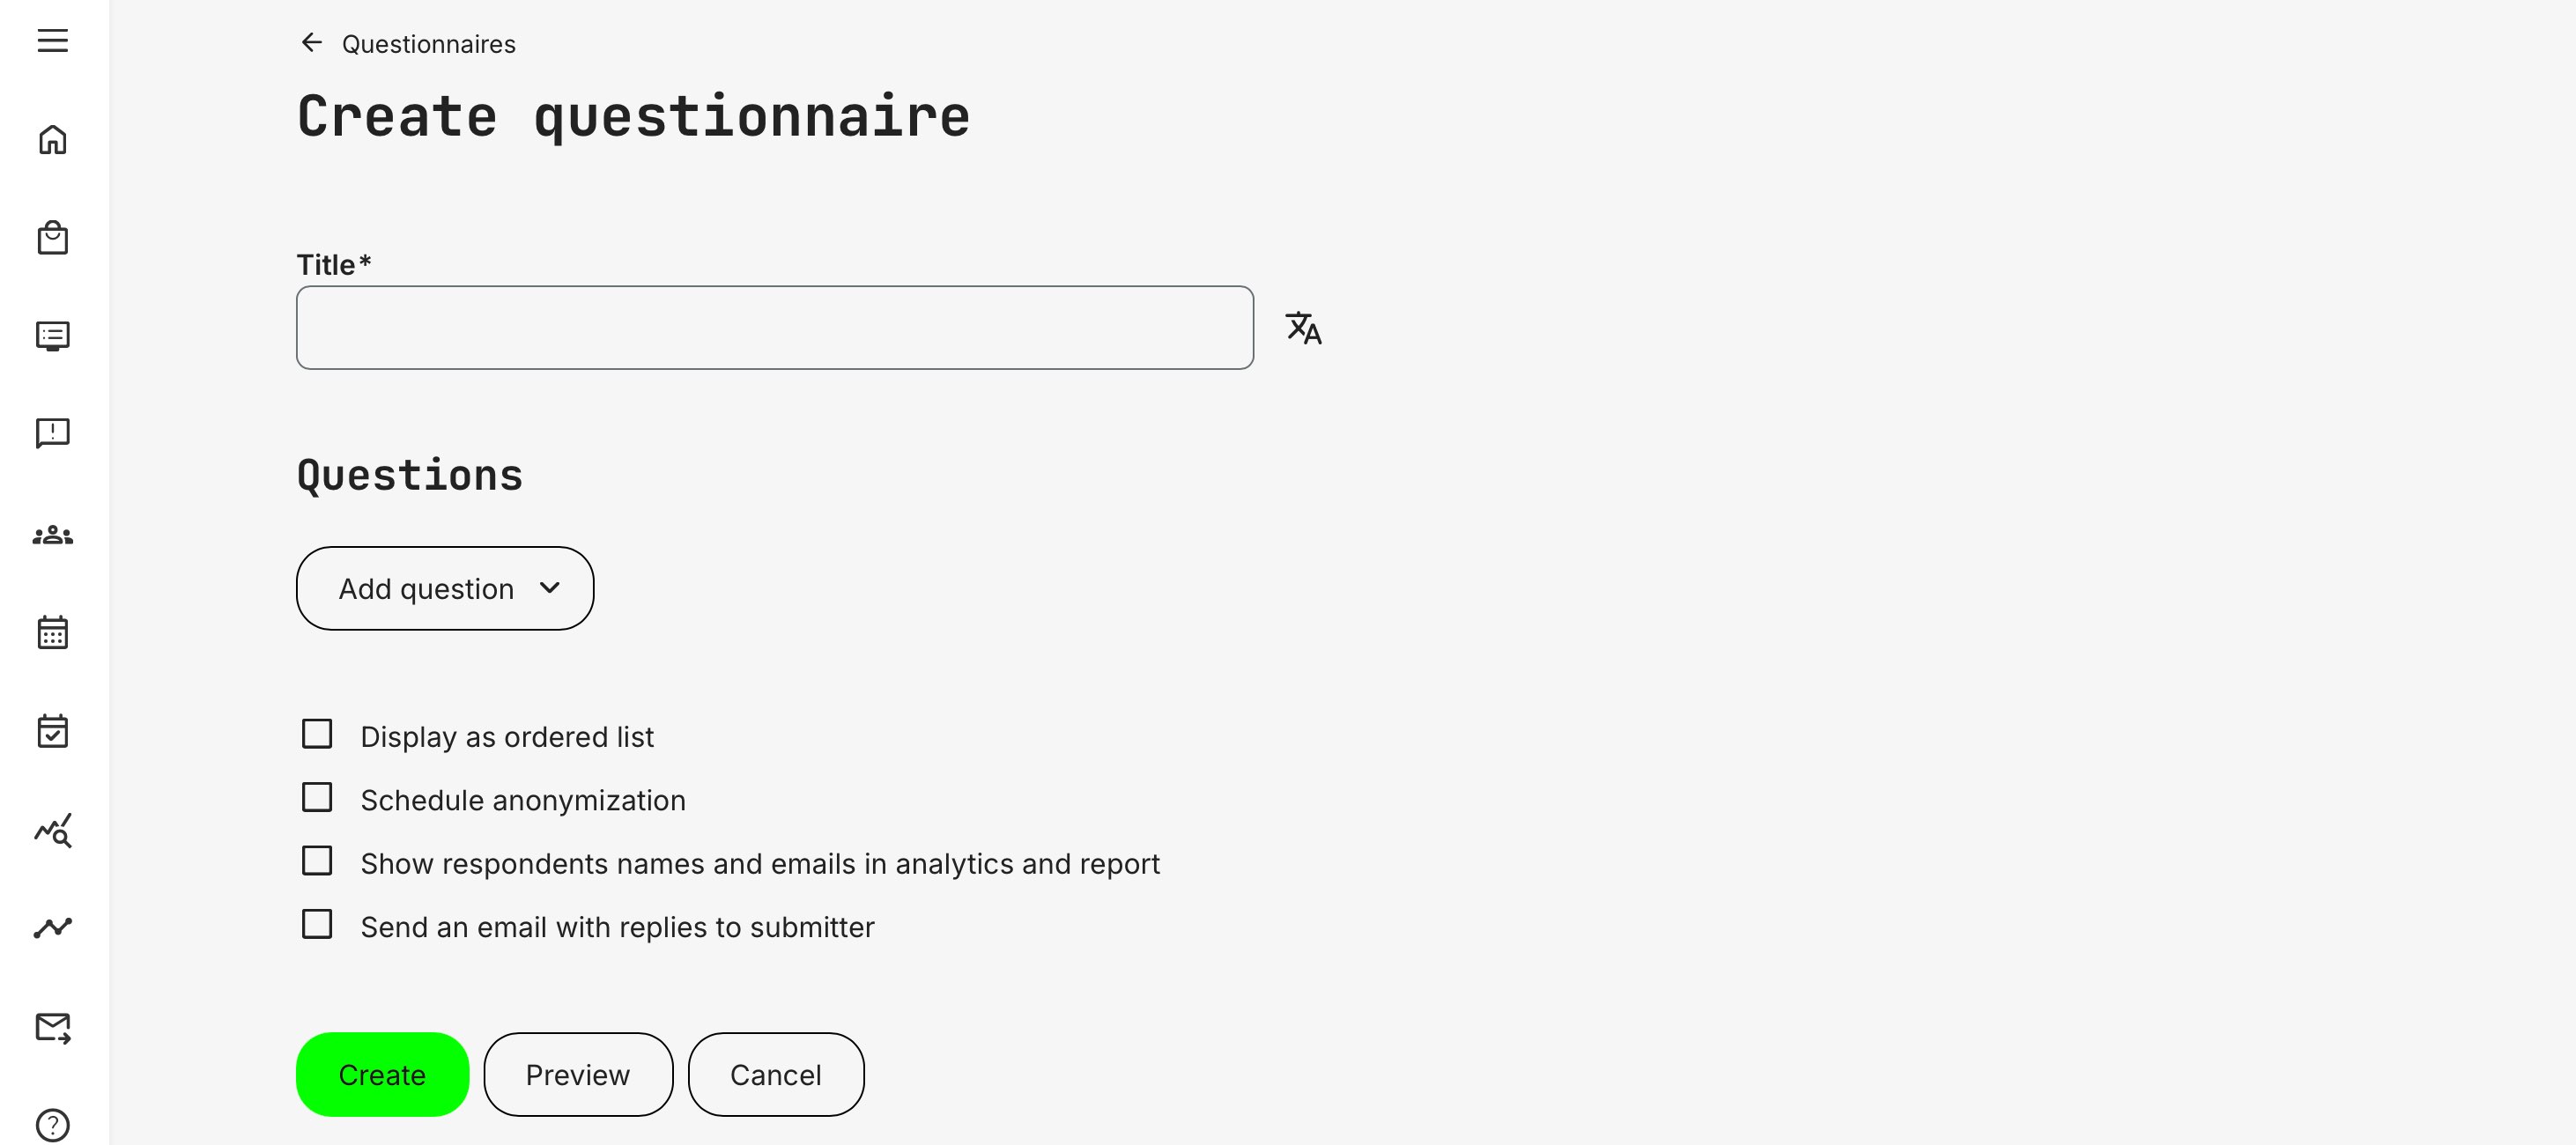
- Title – the name of the survey, which will also become its header. You can use the [Translate] button next to the text field to provide multi-lingual translations
Questions – click the [Add Question] button to be presented with an overview of available question types, including:
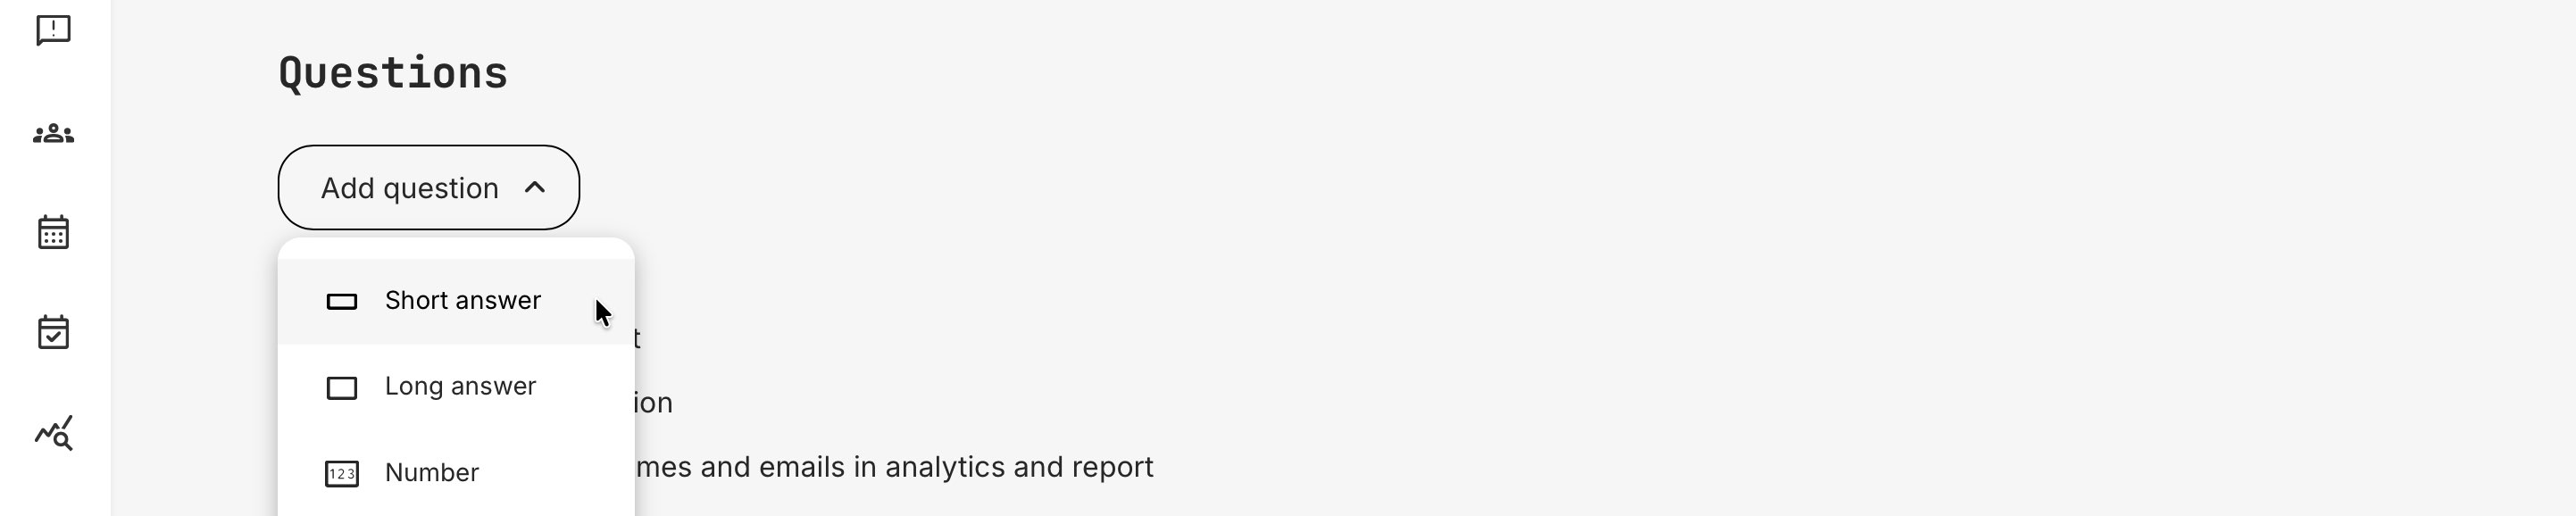
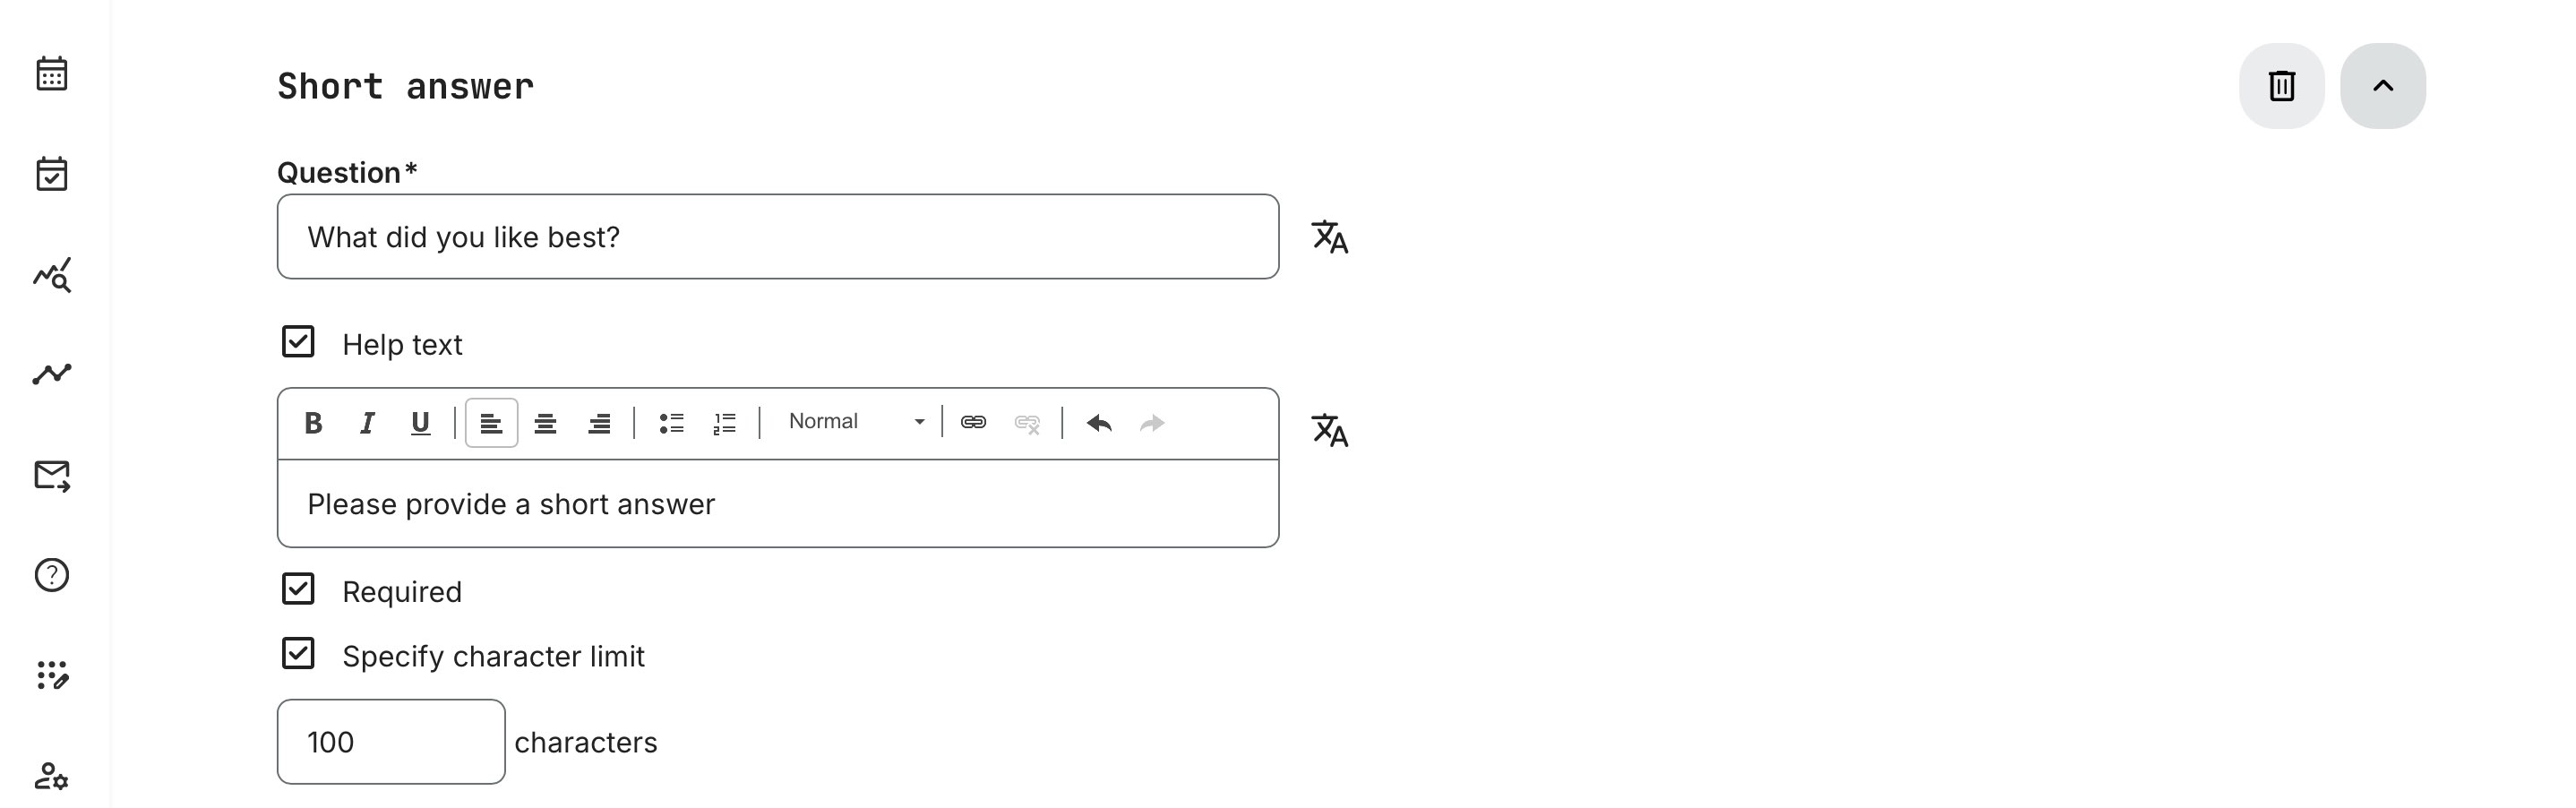
Short Answer: Pose a simple question for users to answer in a text field. You can include a “Help Text” to deliver information or create content around the question, and you can choose whether to make answering it mandatory (Required) or not. You can also select a character limit for the answer to keep it brief and to the point
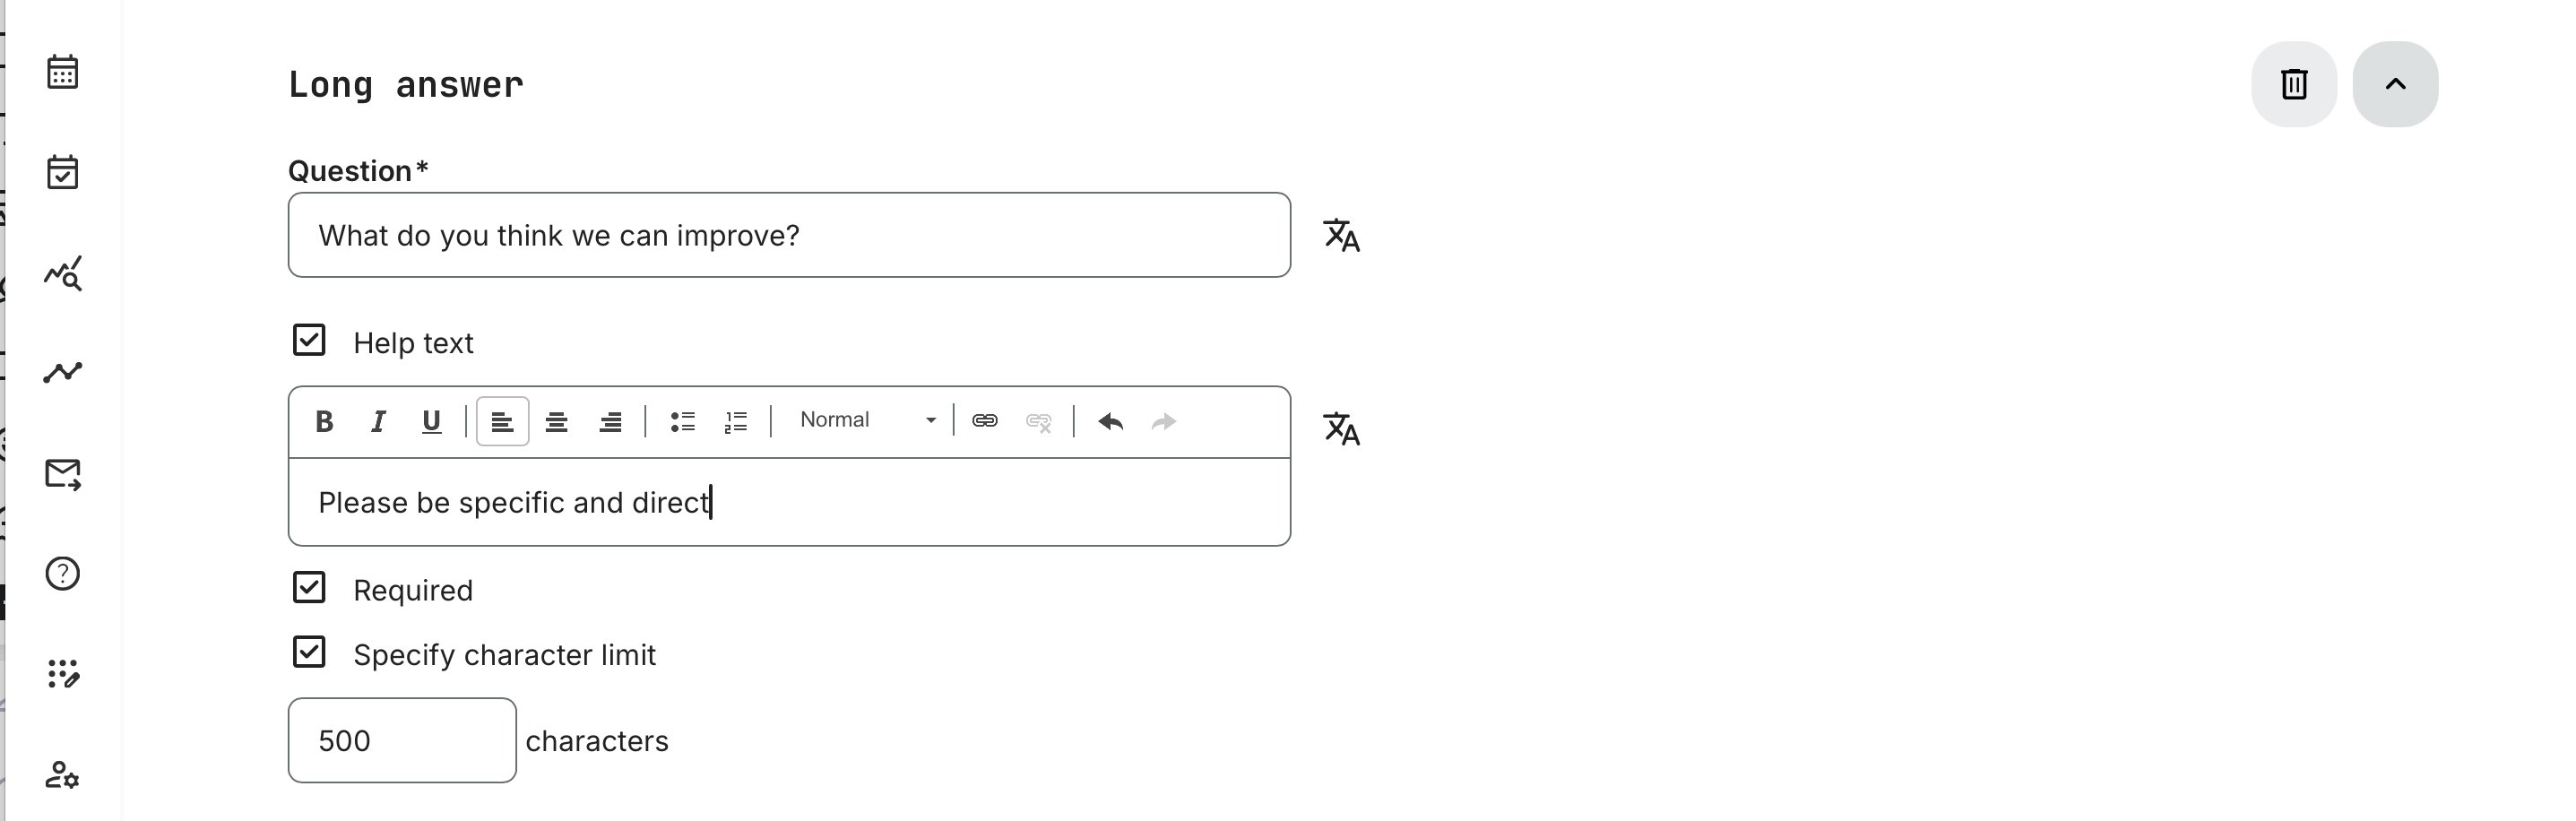
Long Answer: As with the short answer option, a user must provide their answer to the question posed in a text field, and you are given the same options of providing a help text, imposing a character limit, and making it a requirement or voluntary to answer the question
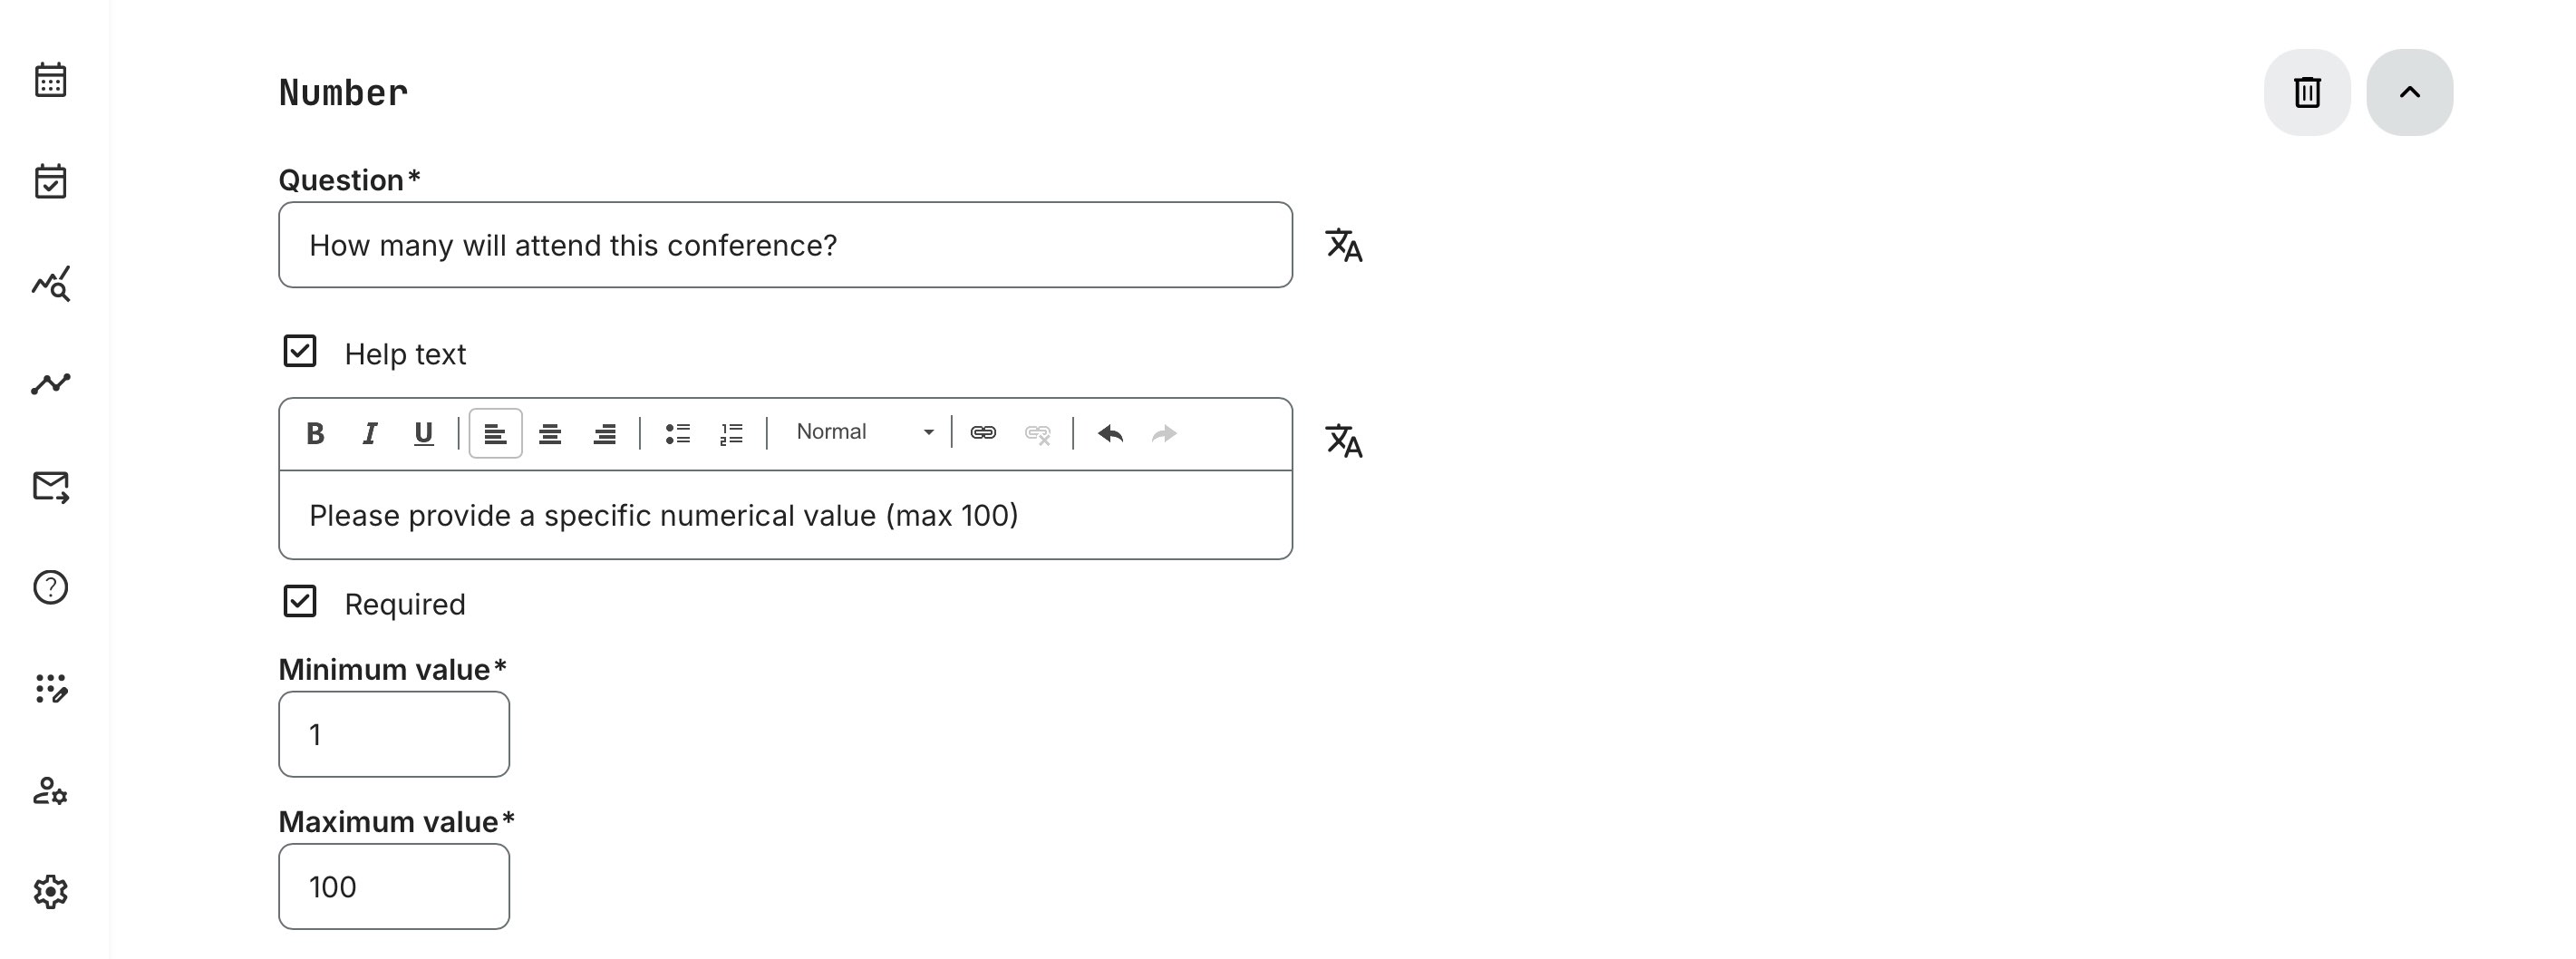
Number: This question type only accepts numeric input within a defined minimum and maximum range. You can optionally add help text for guidance and choose whether the question is required or optional.
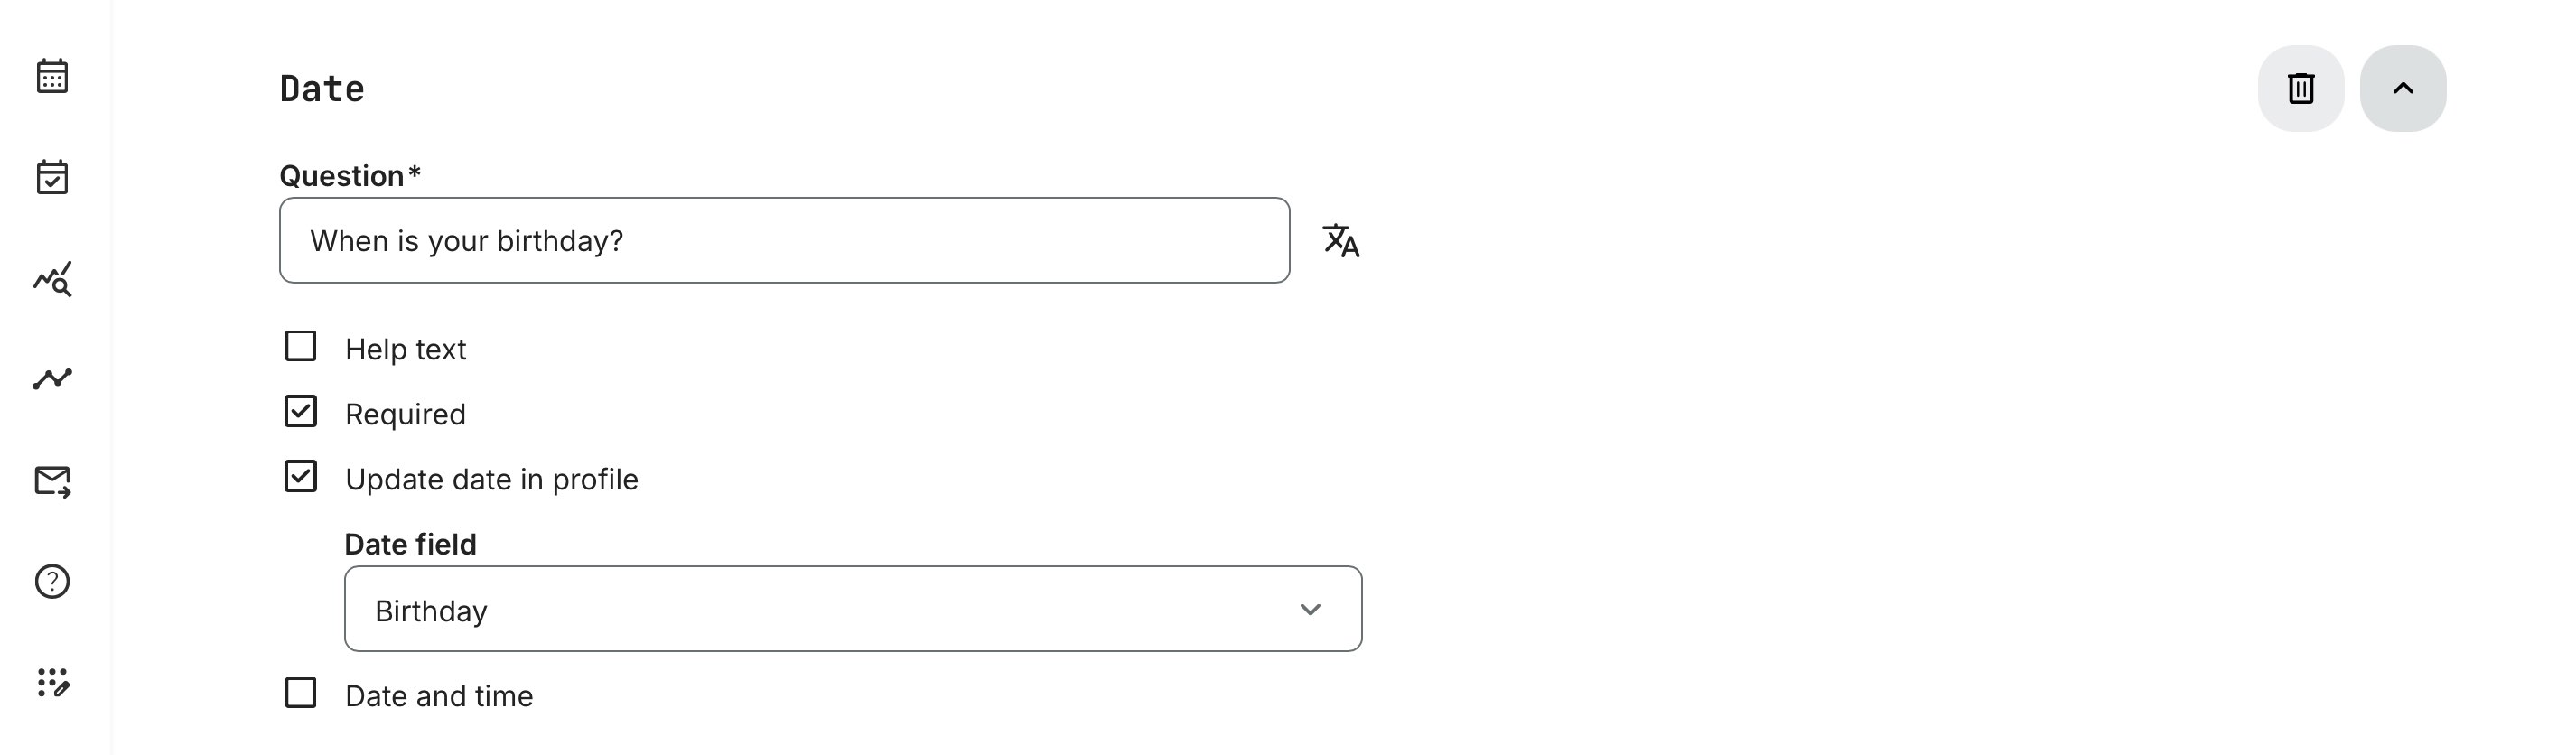
Date: Respondents answer using a date picker, ensuring the input is always in the correct format. You can add help text for guidance and choose whether the field is required or optional. Configure the question to collect either Date only, or Date and time (for scenarios like sessions, or deadlines). Additionally, this question type can be used to update the user profile based on the response—for example, capturing a birthday, hire date, graduation date, or other relevant profile data
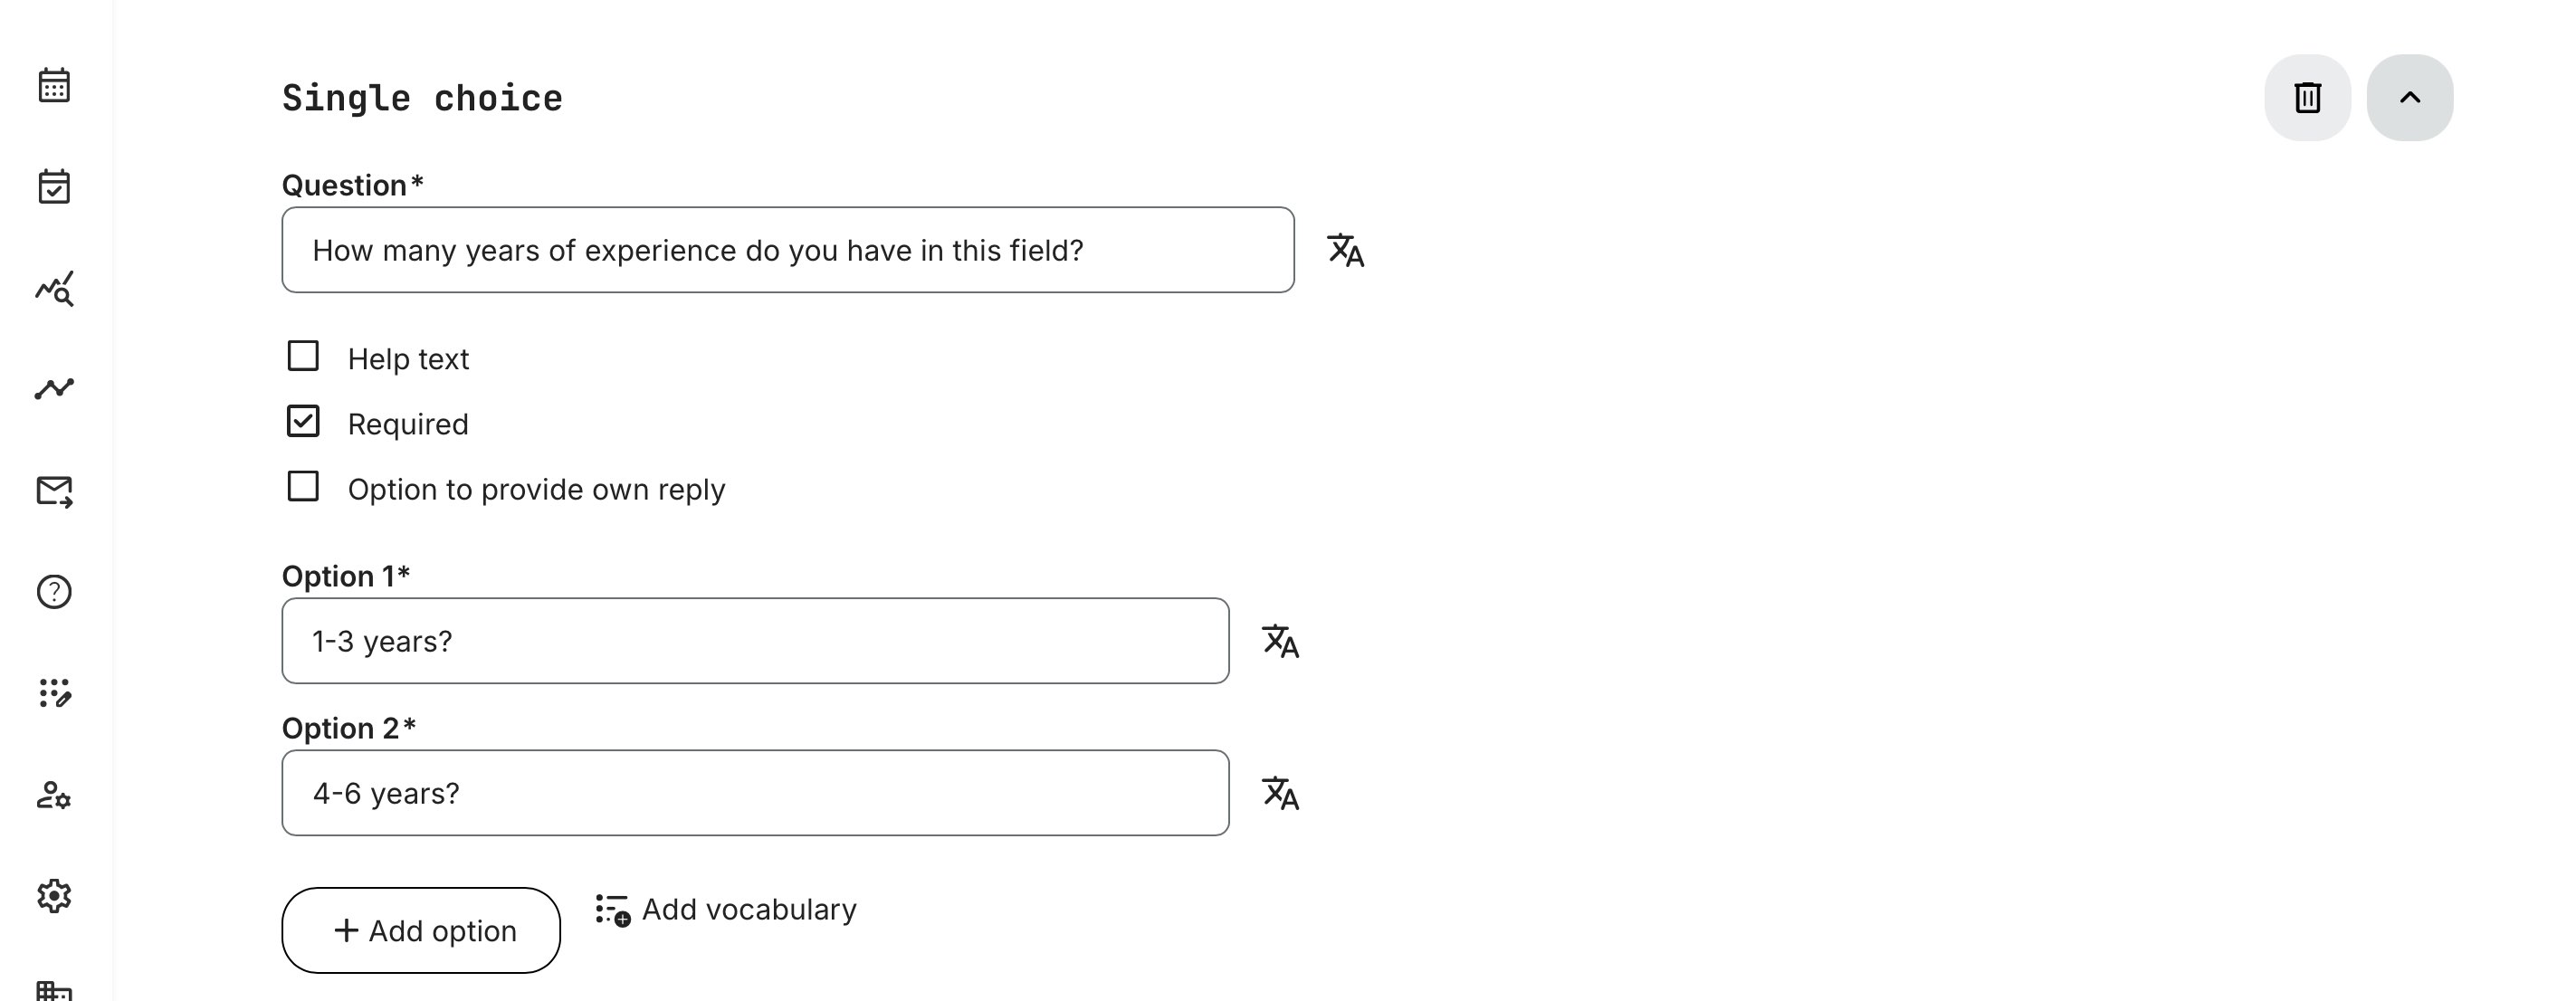
Single Choice: The respondent must select one option out of a given number of predefined answers to the question posed. You may, however, tick the “Option to provide own reply”box to give them that freedom – and you can once more make answering the question required and/or provide a help text
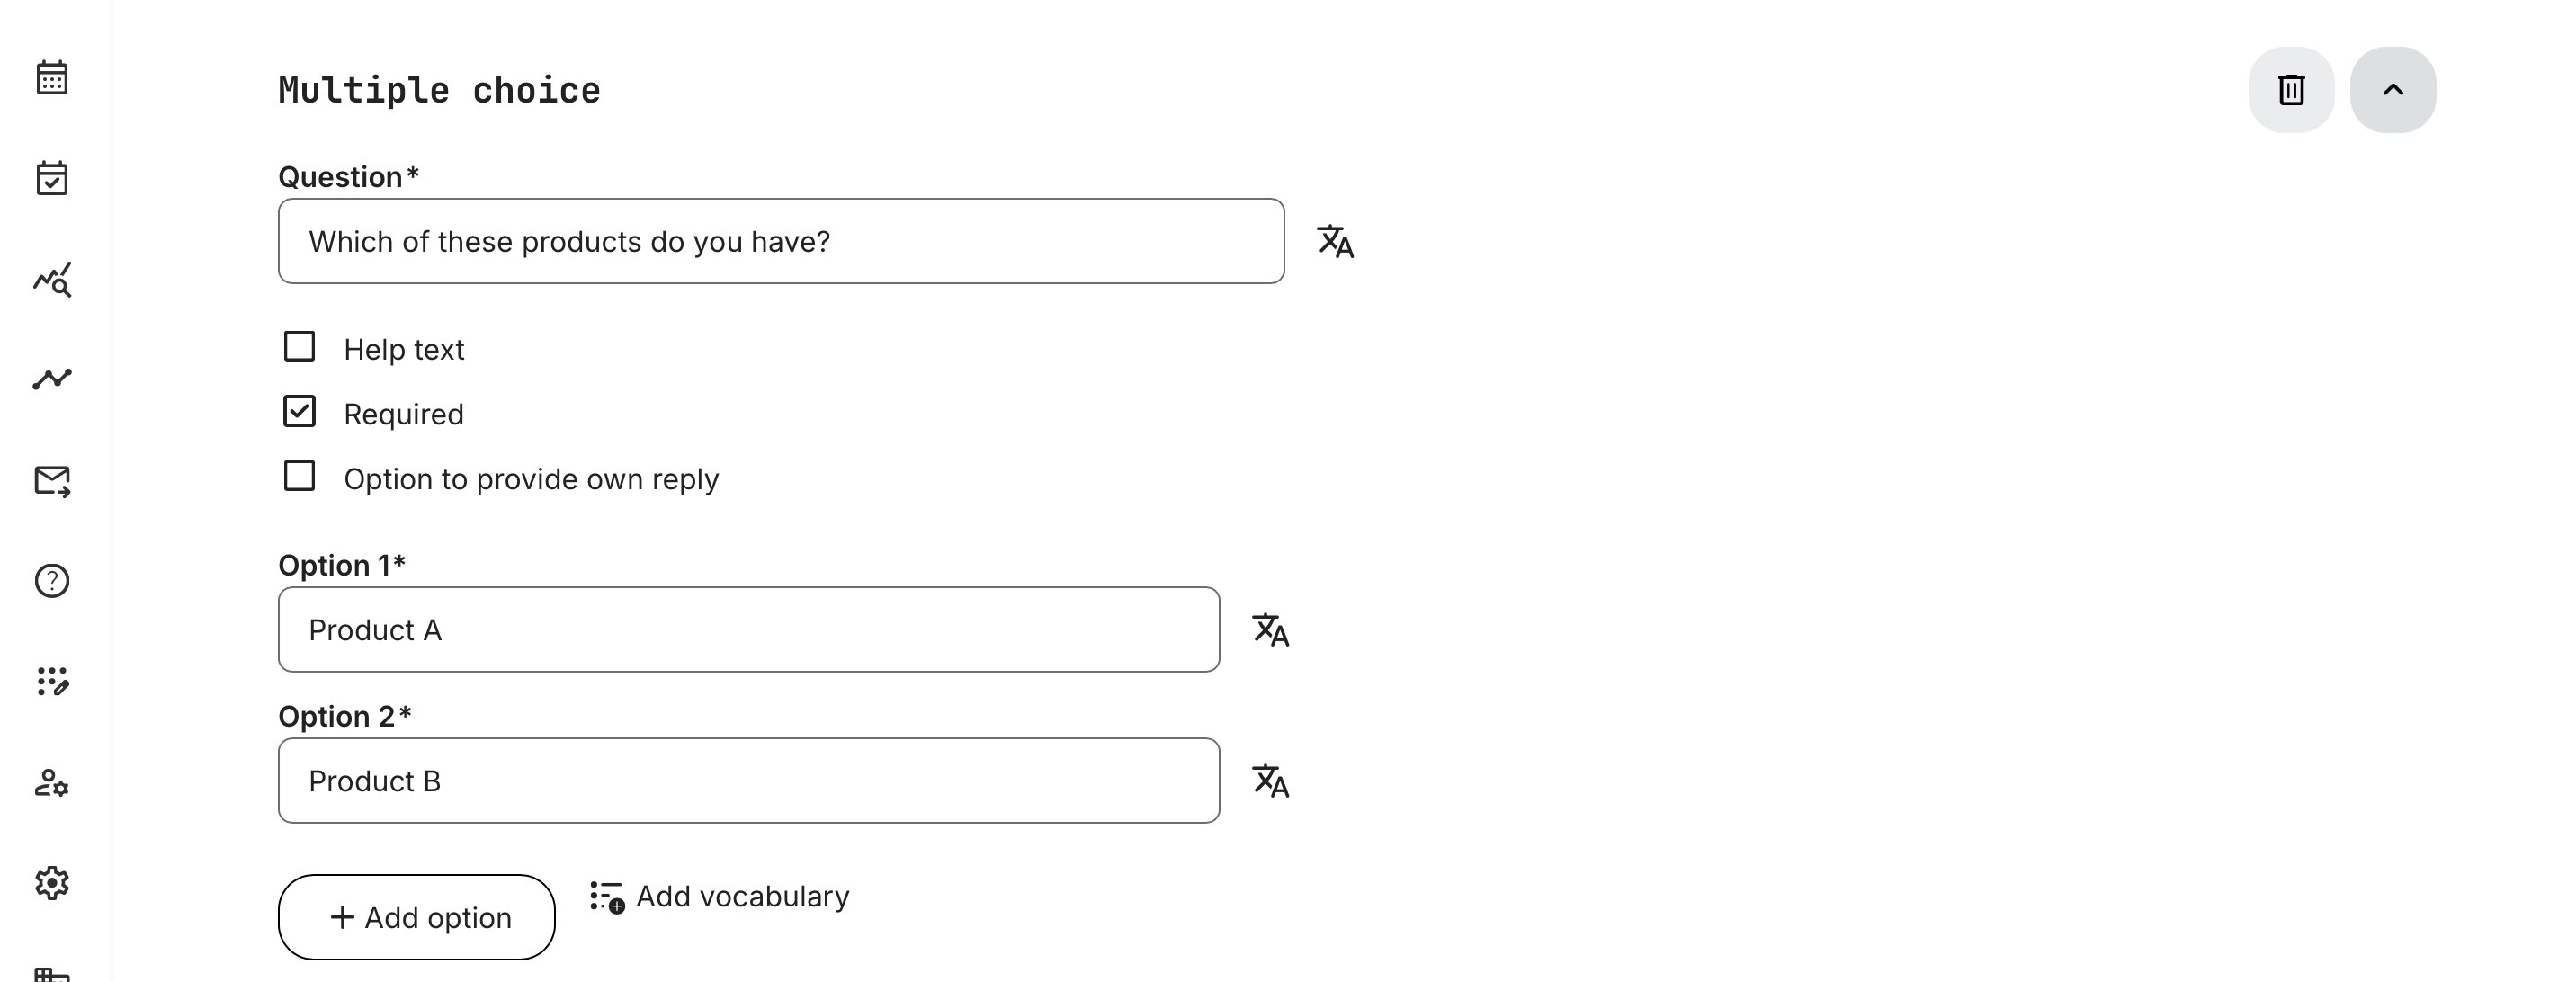
Multiple Choice: The respondent must select one or more options out of a given number of predefined answers to the question posed. You may, however, tick the “Option to provide own reply” box to give them that freedom – and you can make answering the question required and/or provide a help text
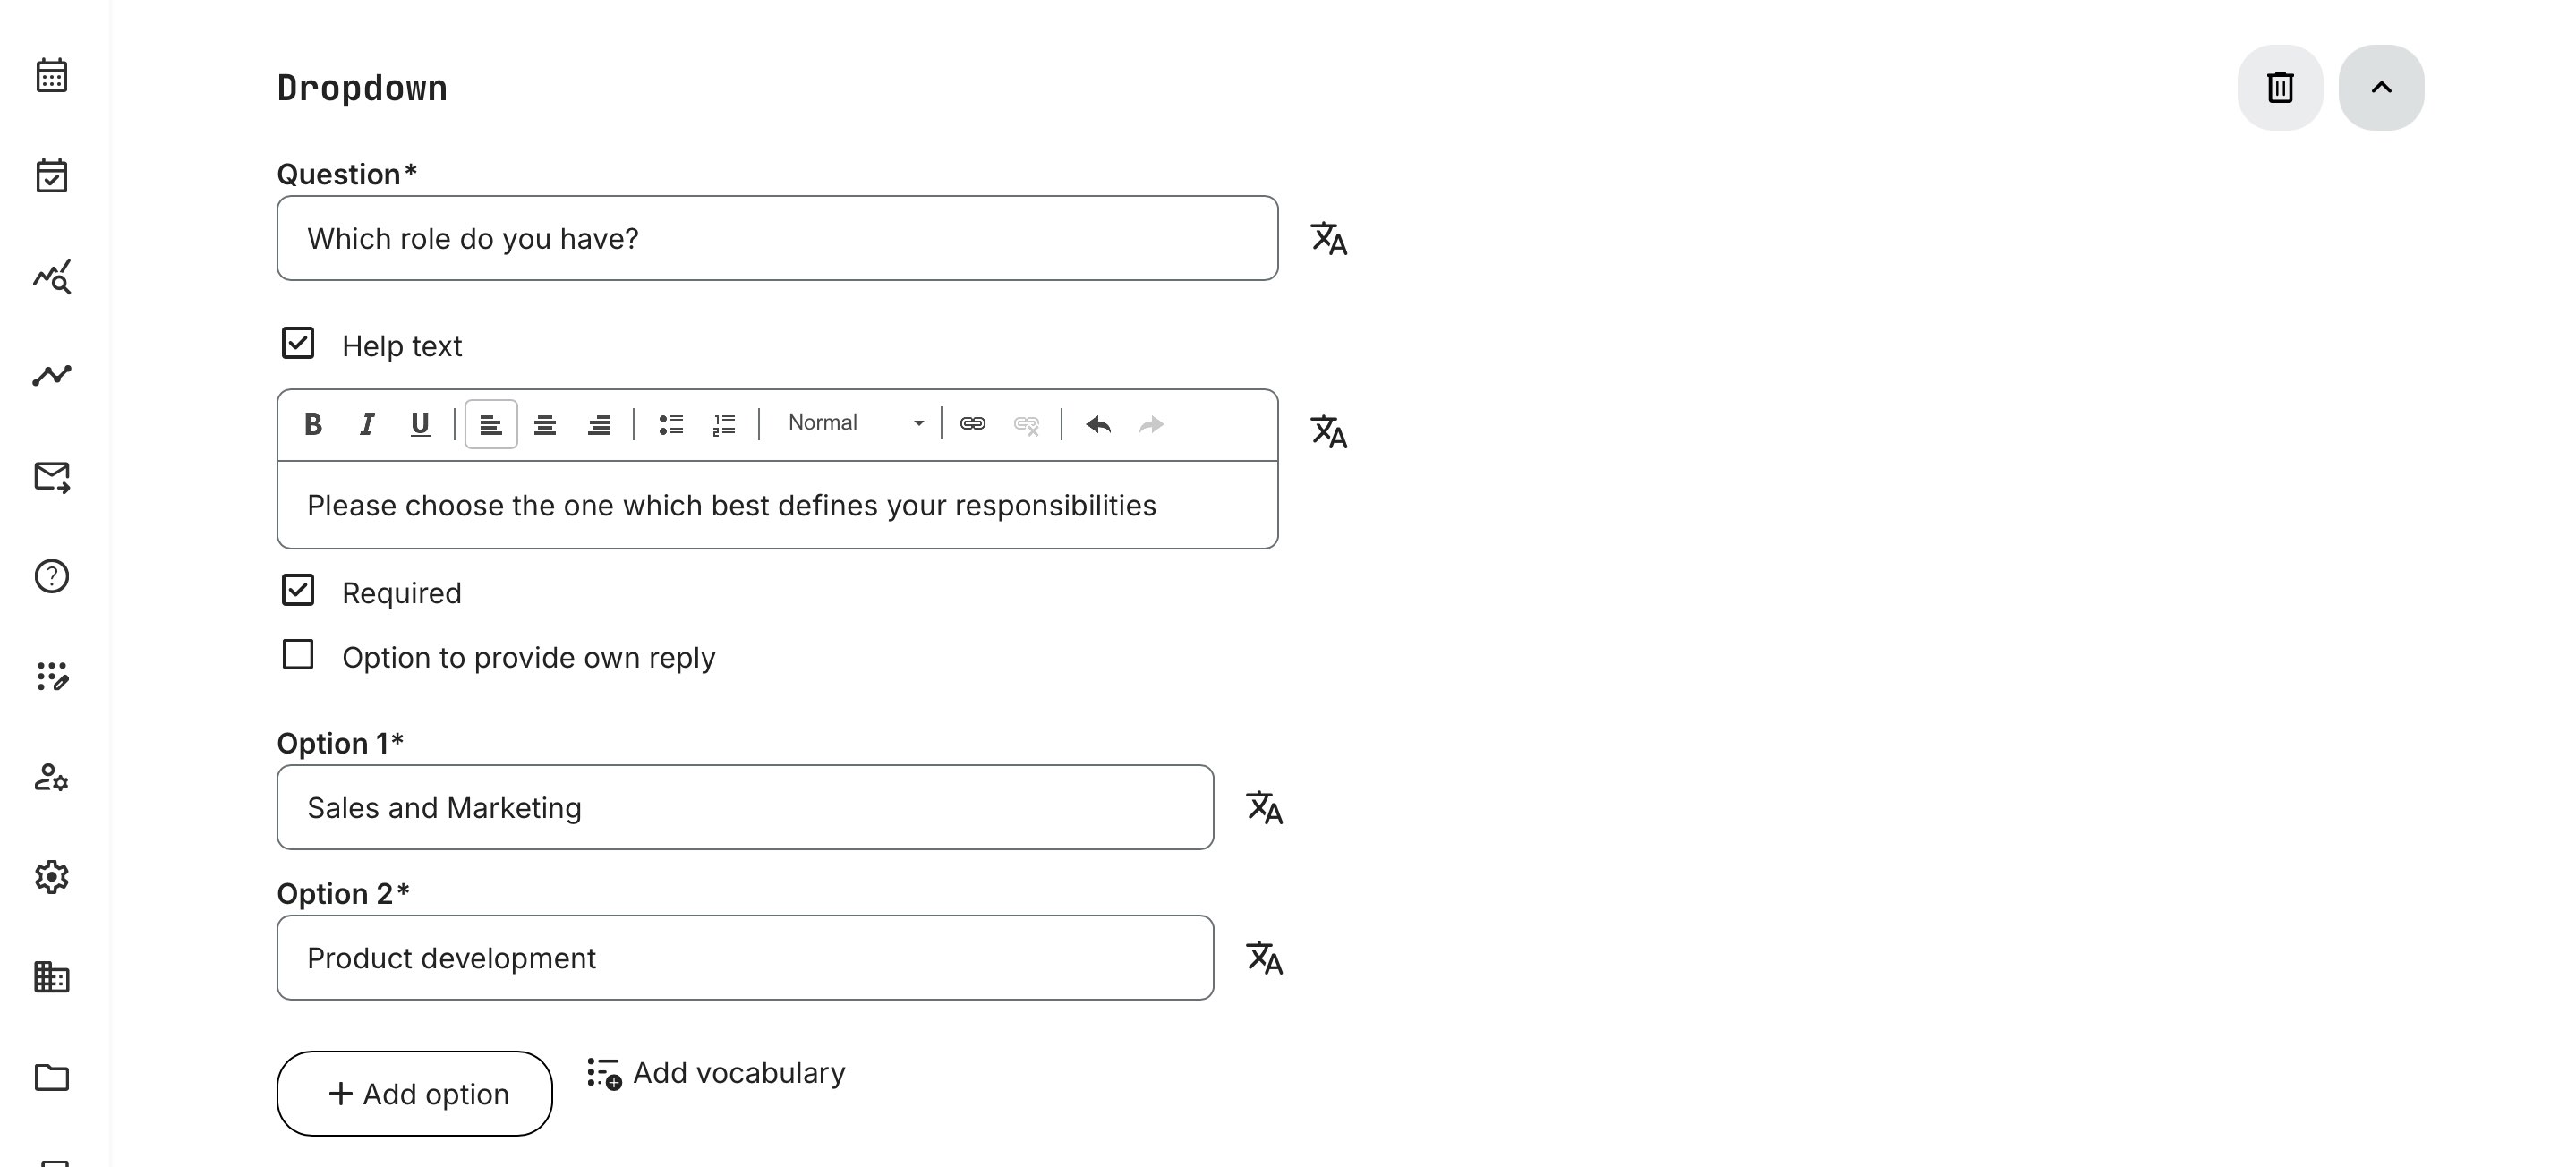
Dropdown: Though visually different from the single choice question, this option offers the same setup: a single answer is selected from a dropdown menu, and respondents can be given the option to provide their own reply. You can make answering it a requirement or not and provide a help text
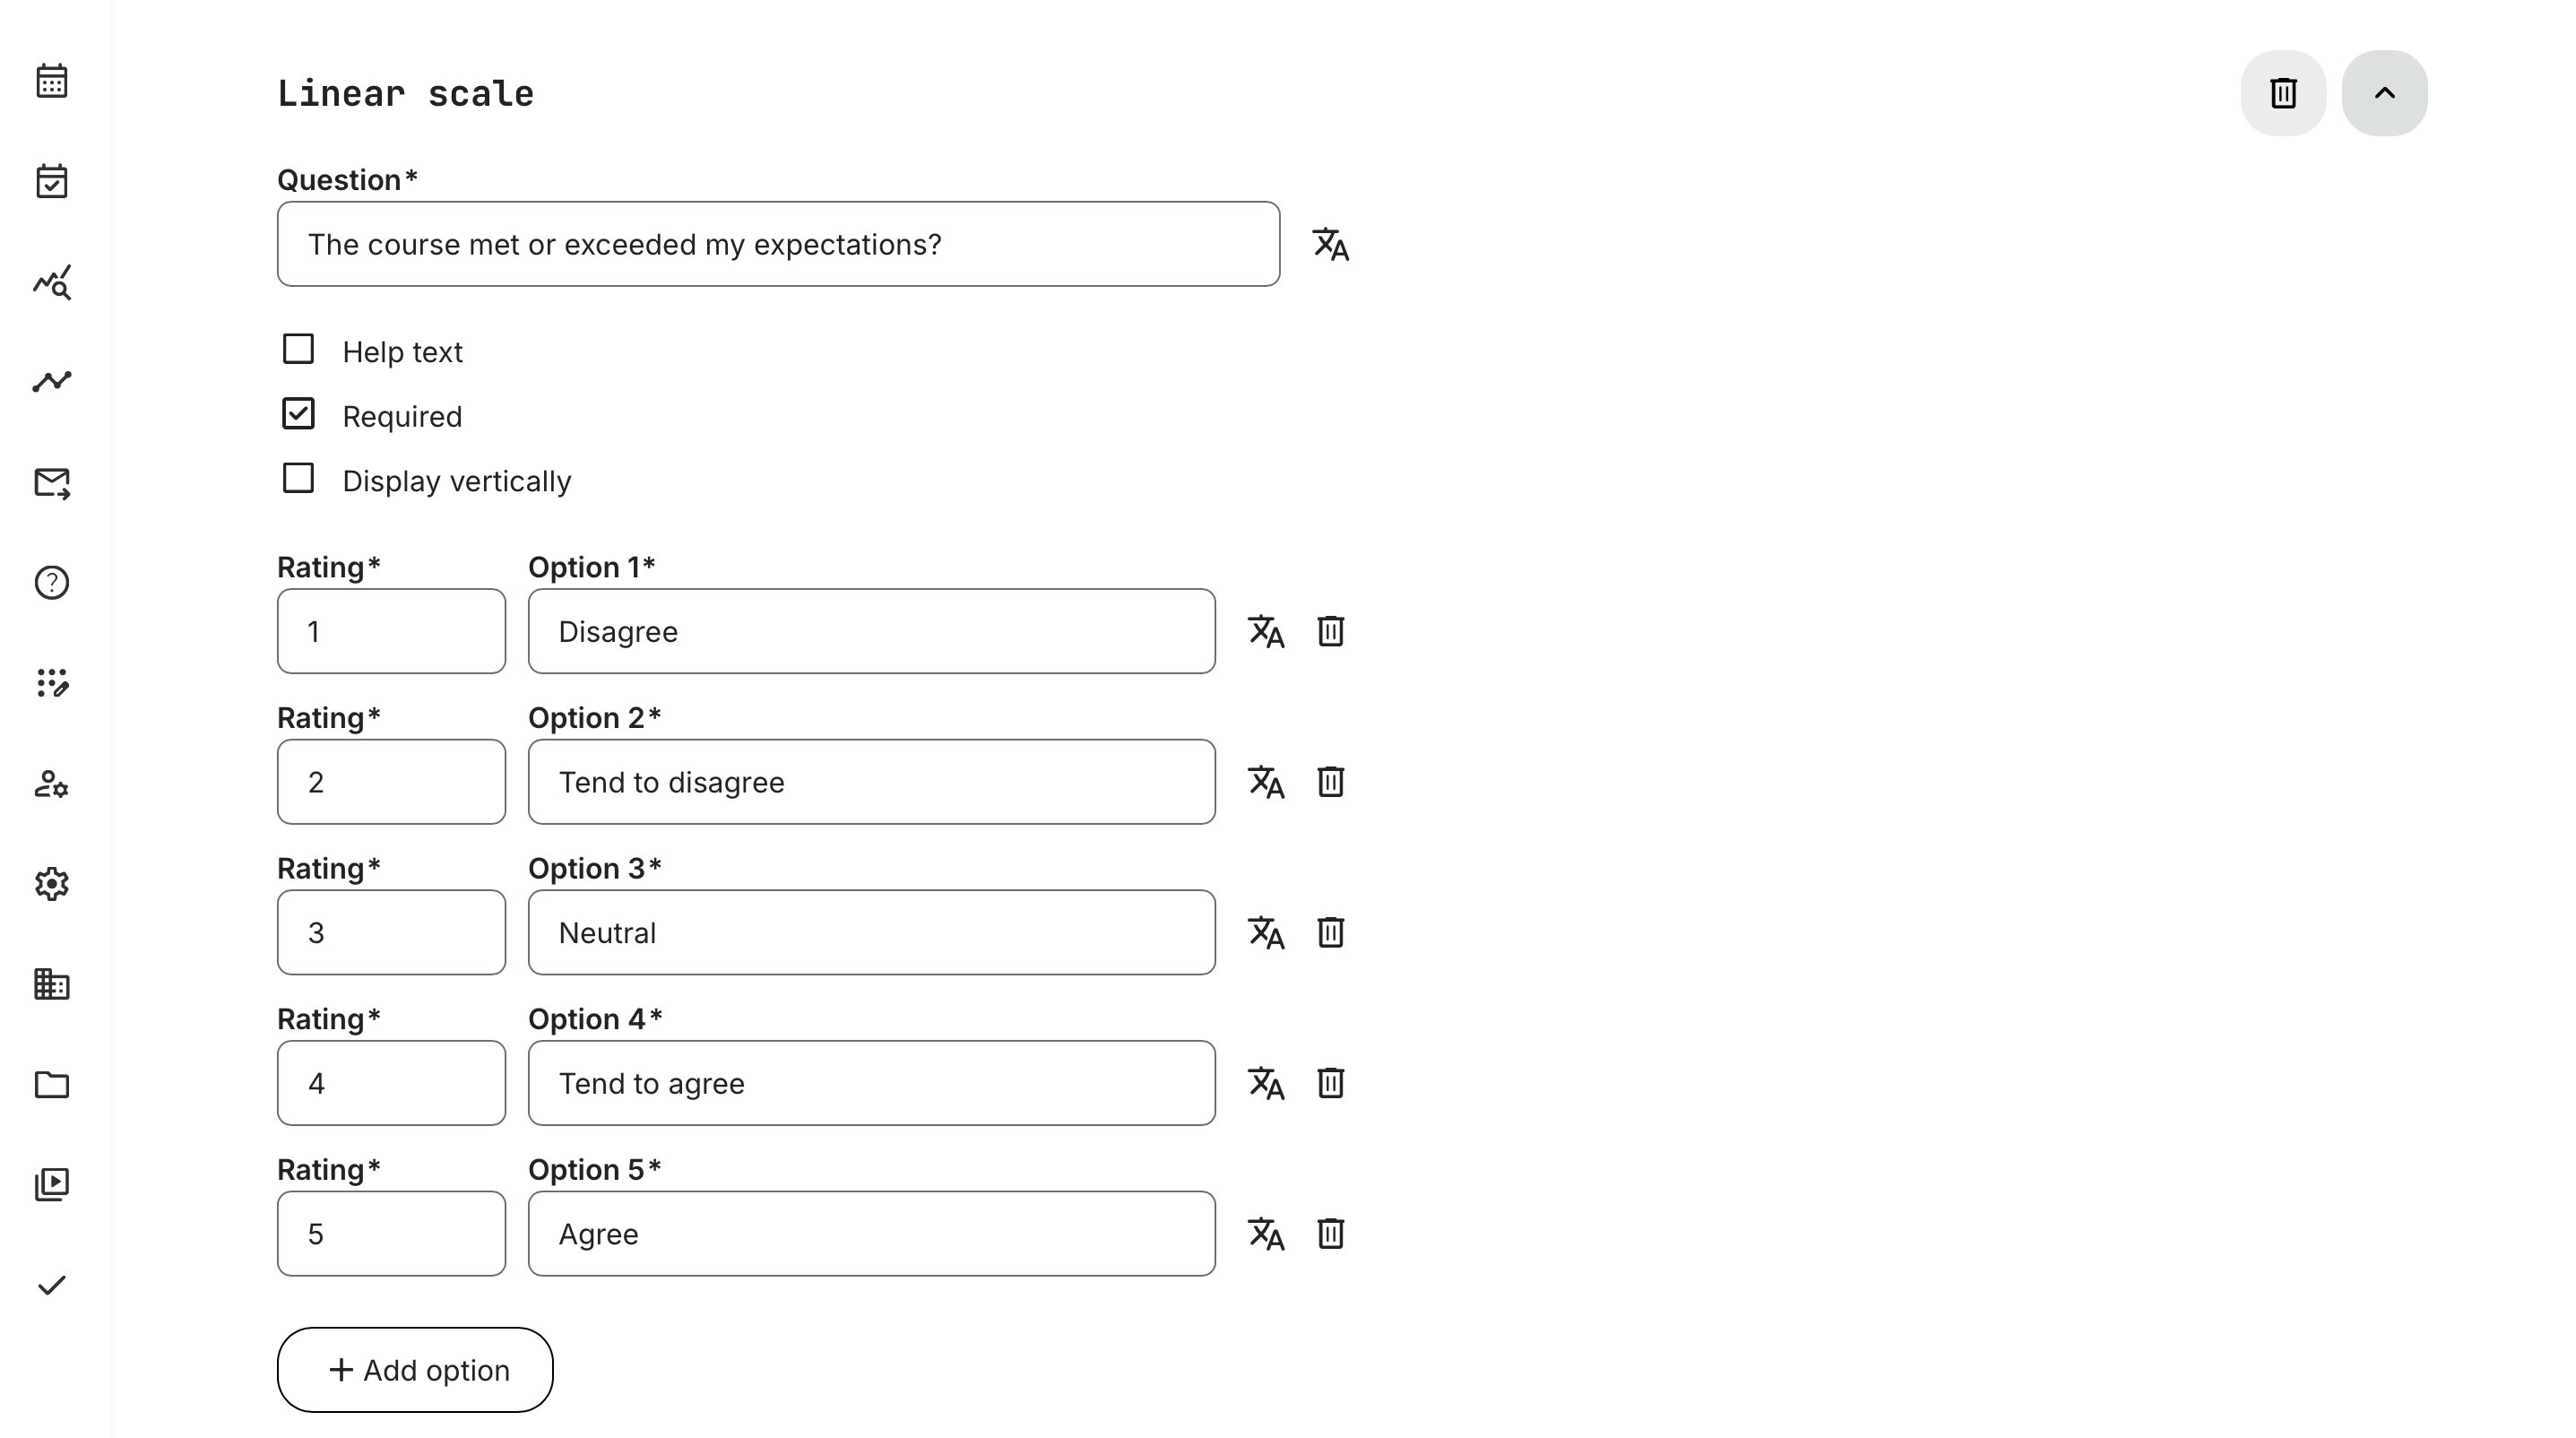
Linear Scale: Respondents must select an option from a scale of predefined answers provided by you. You can choose both the number and text of the answers on this scale and its visual orientation (horizontal or vertical). You can also decide whether to make answering this question a requirement or not and provide a help text with added information or context
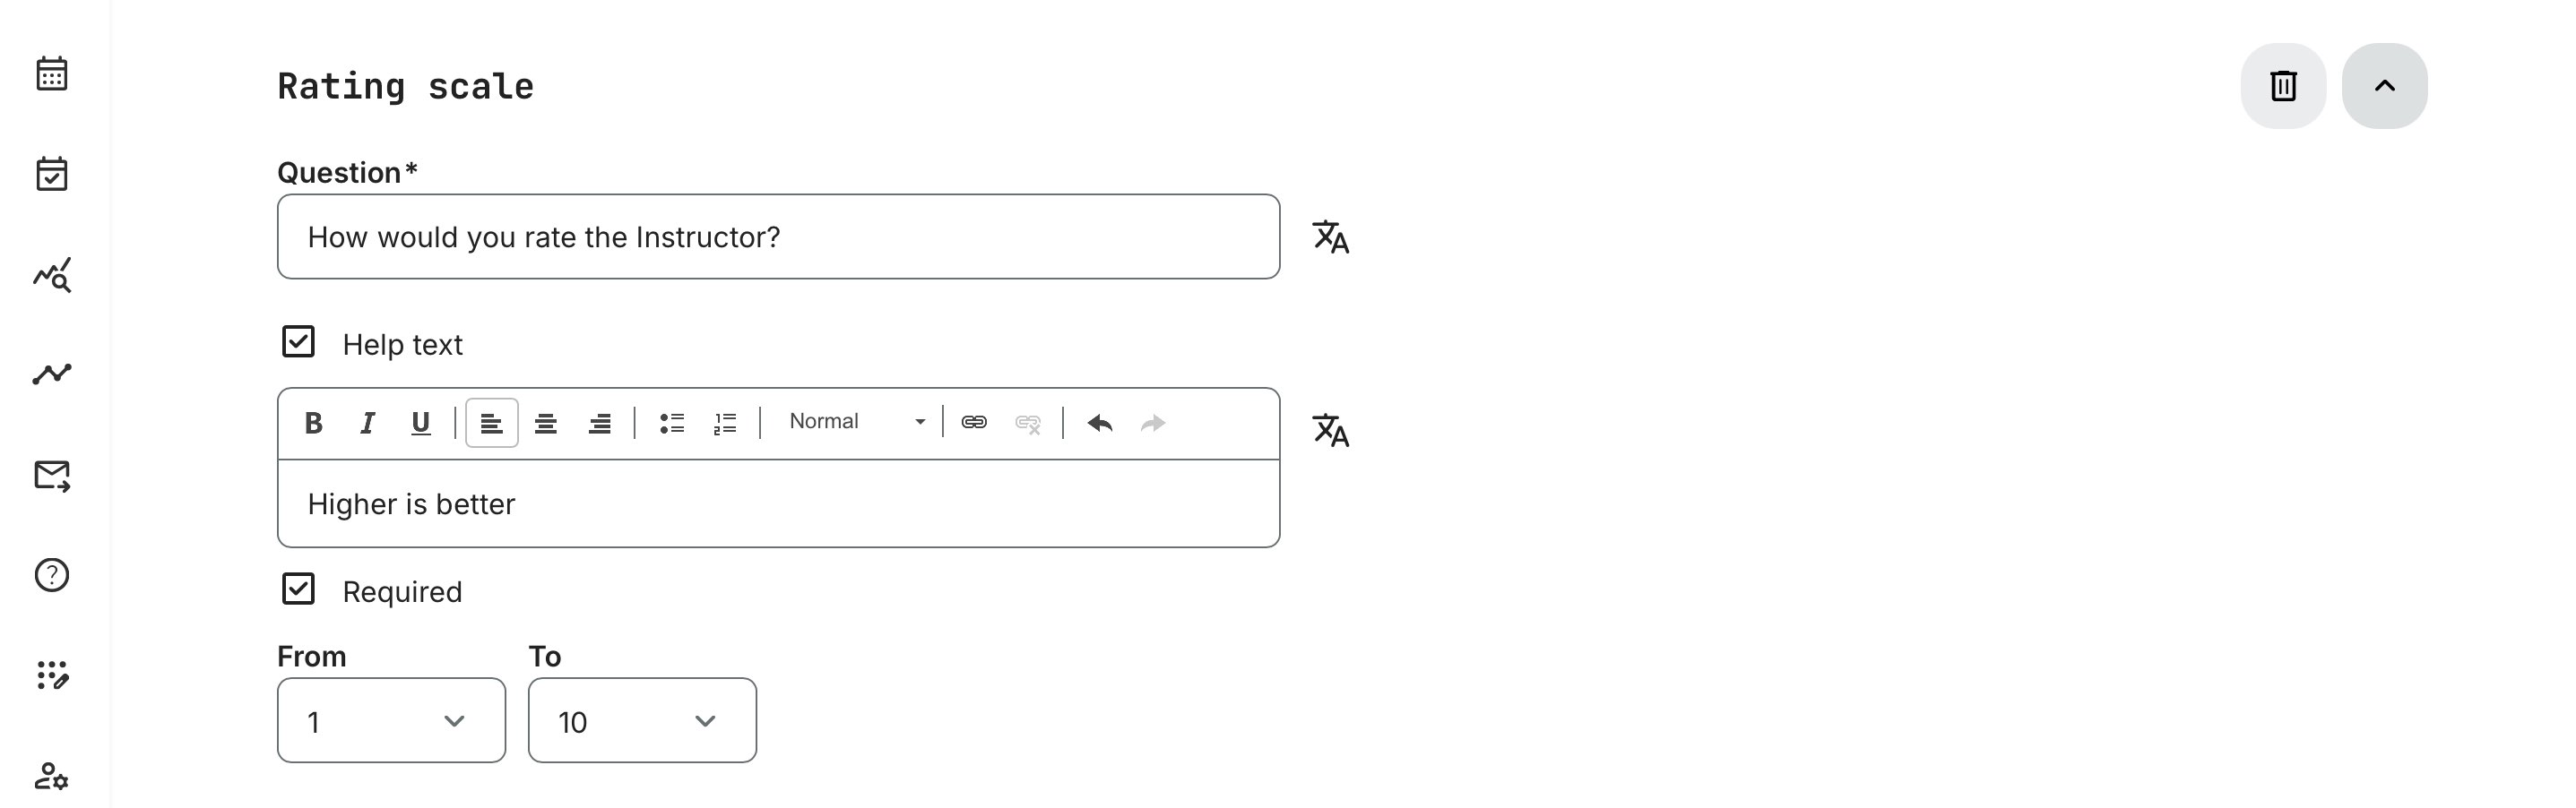
Rating Scale: As with the linear scale, respondents must select one option from a scale – though this one consists of numbers in an interval decided by you. If you wish, you may add a help text with added context or information and select whether an answer is required from respondents or not
Consent: Respondents can be requested or required to provide consent by using this question type. If they are meant to simply confirm having read and consented to the terms outlined in the question field, check the “Toggle” box to only provide them with one answer option. Otherwise, you may provide them with a variety of predefined answers, as well as a help text at your discretion – and you may upload relevant files such as a Terms of Service document for reference

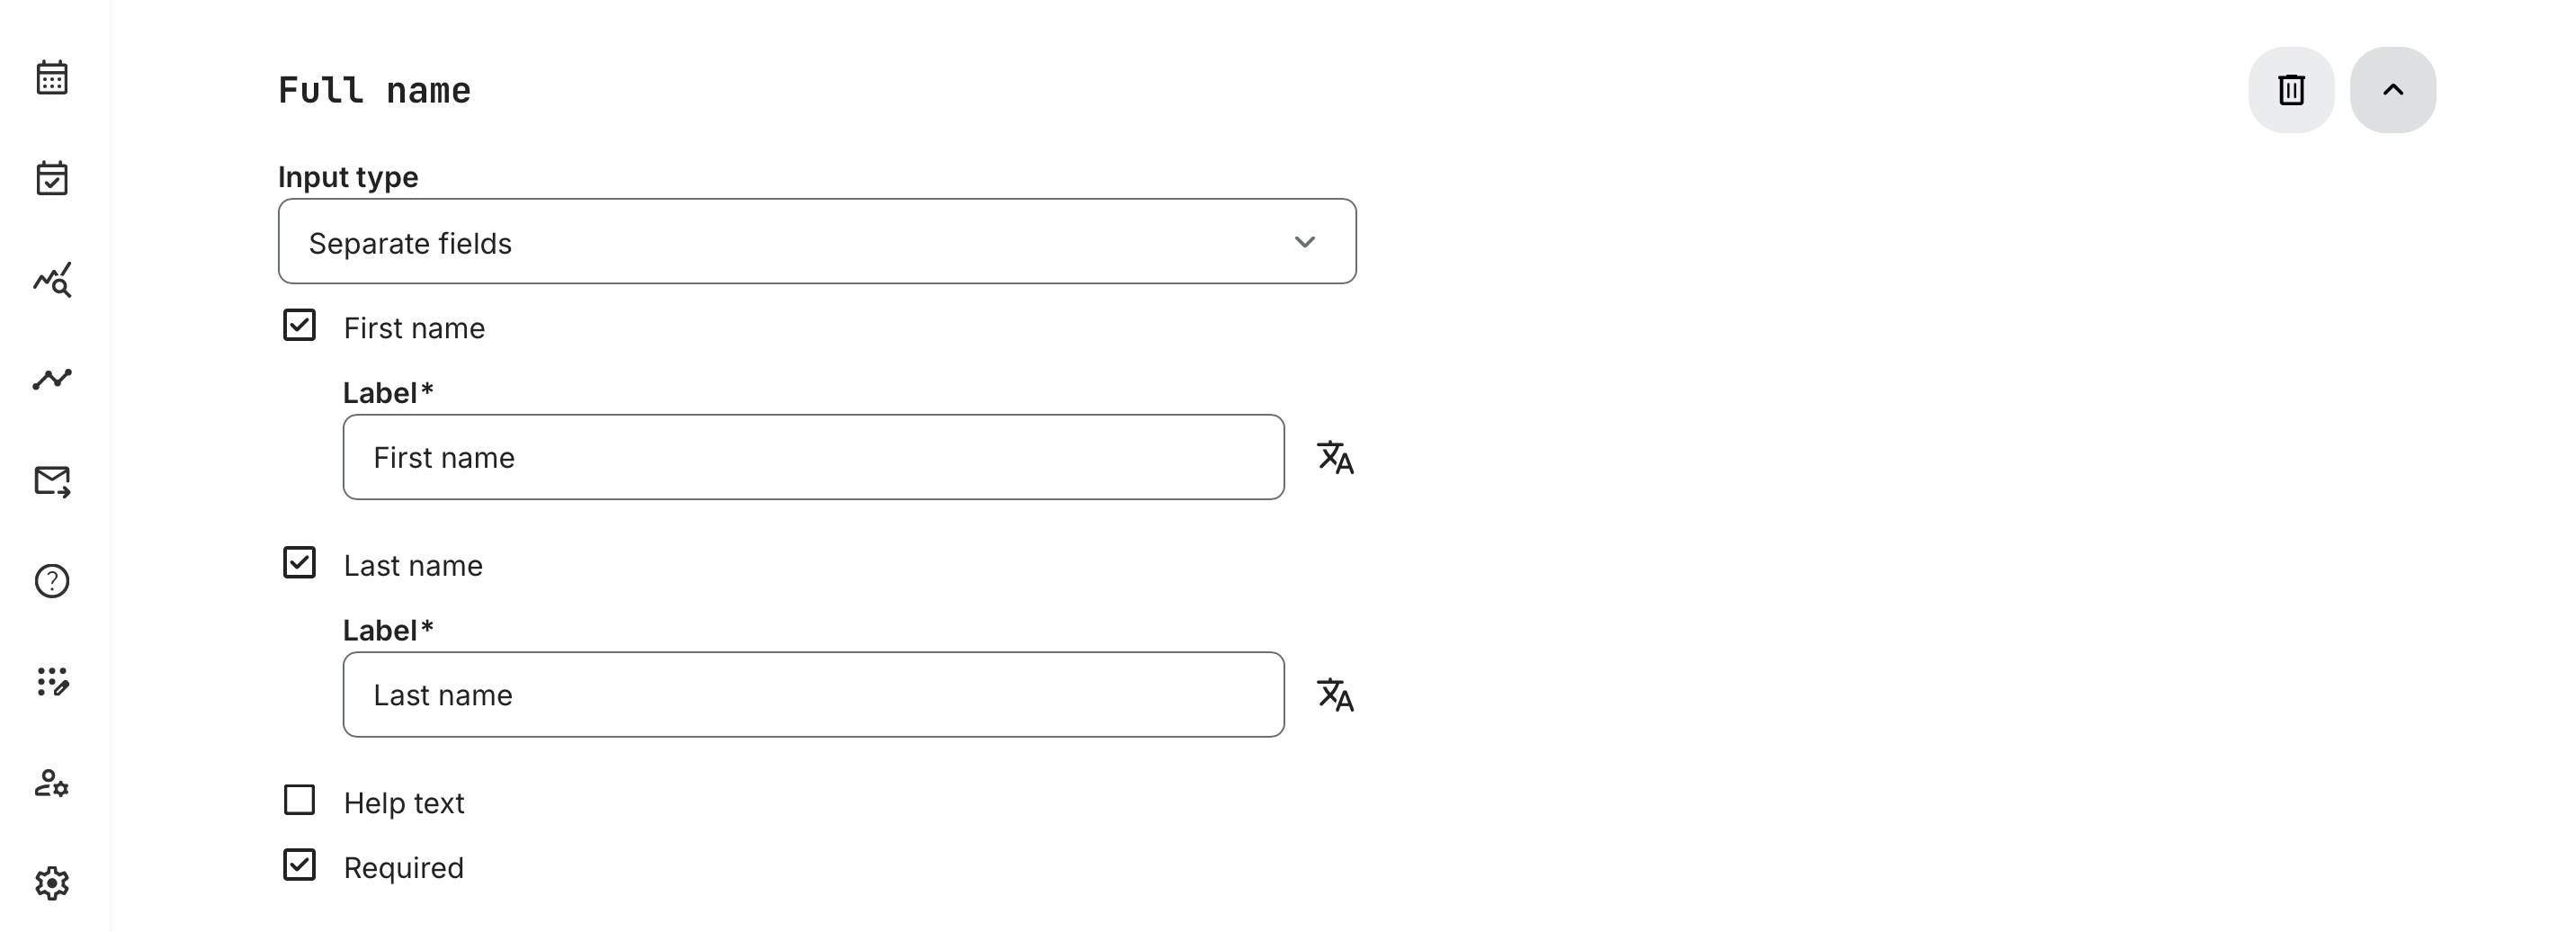
Full name: Use this question type to let respondents provide their full name. You can select whether you wish for the “Input type” to be a single field or separate fields, depending on whether you wish for the full name in one field or prefer separate fields for first- and surnames for later segmentation. You can also add some context around this request with a “Help text” and make answering it “Required” or optional
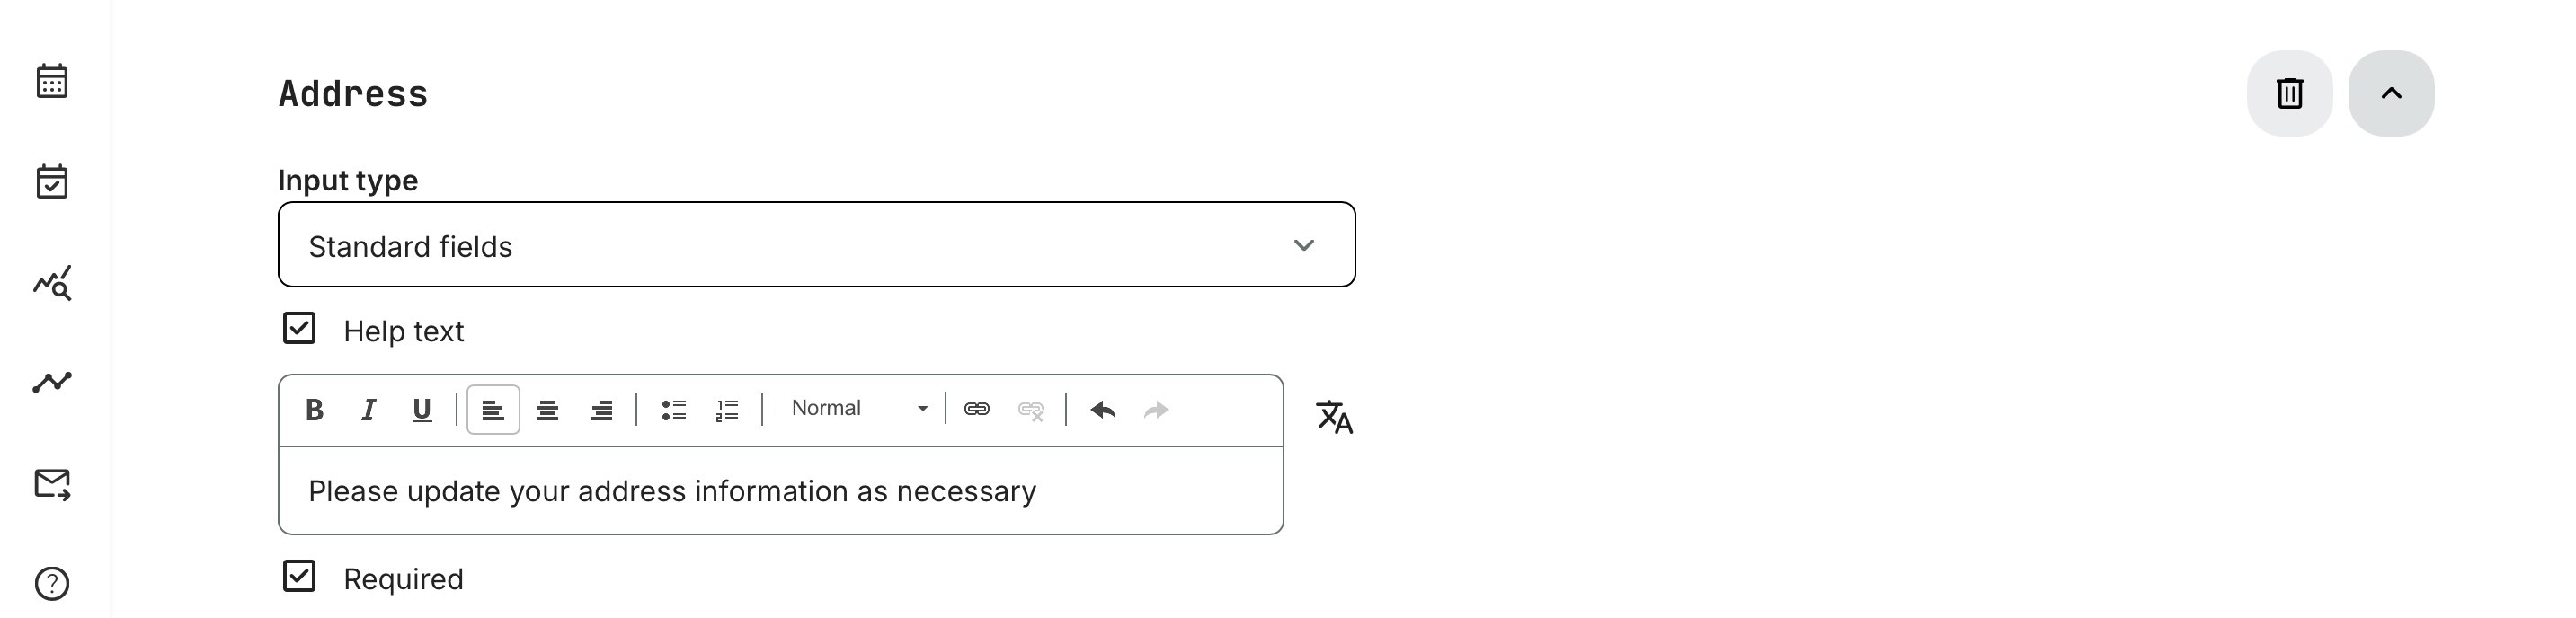
Address: Use this question type to let respondents provide their street address. You can select for the “Input type” to be either standard fields (free text option) or custom fields (with preselected separate fields for street name and number, postal code, city, country, region, etc.). Once again, you decide whether to make answering this question mandatory or optional, and you can provide a “Help text” for context by checking the corresponding box
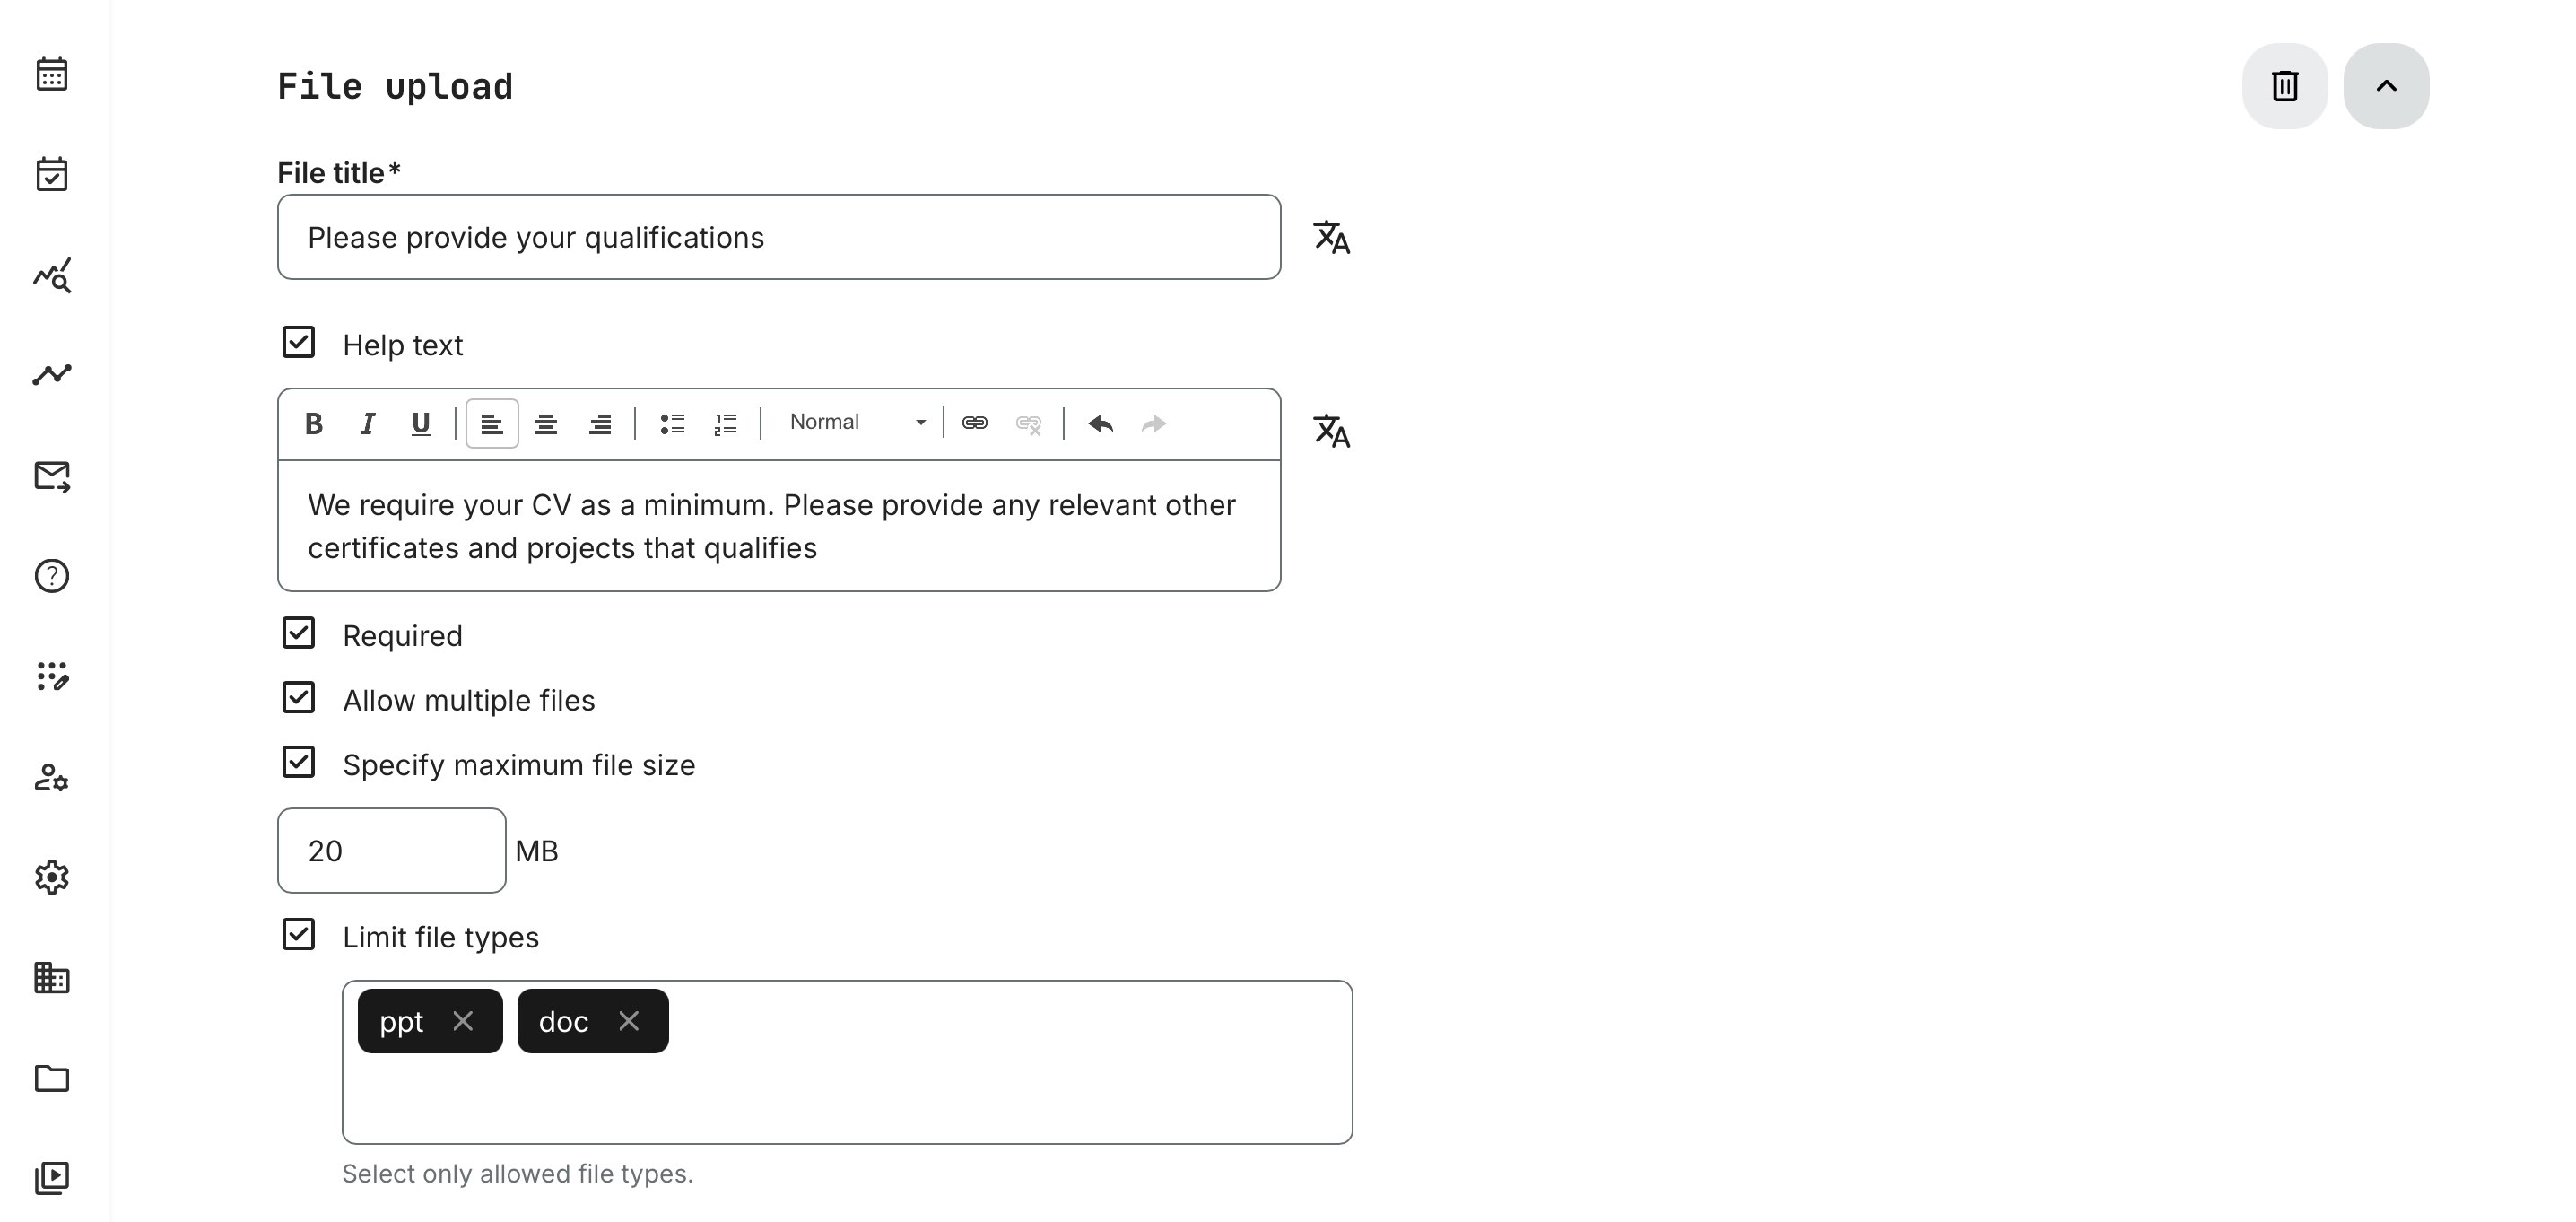
- File Upload: This question type lets a respondent upload one or more files, the nature of which you can specify and describe in the “Help text”. It is possible to both limited the file types that are possible to upload and their size, and you can decide to make the upload mandatory or optional
Heading: To create an introduction to a section you can create structure for a more optimal questionnaire flow

Text: Often used with Heading, this option lets you add short guidance anywhere in a questionnaire—explaining what to expect and what respondents should consider when answering. You can also include reference links directly in the text

- Divider: Dividers help you structure and style your questionnaire with simple design elements. You can choose from four options
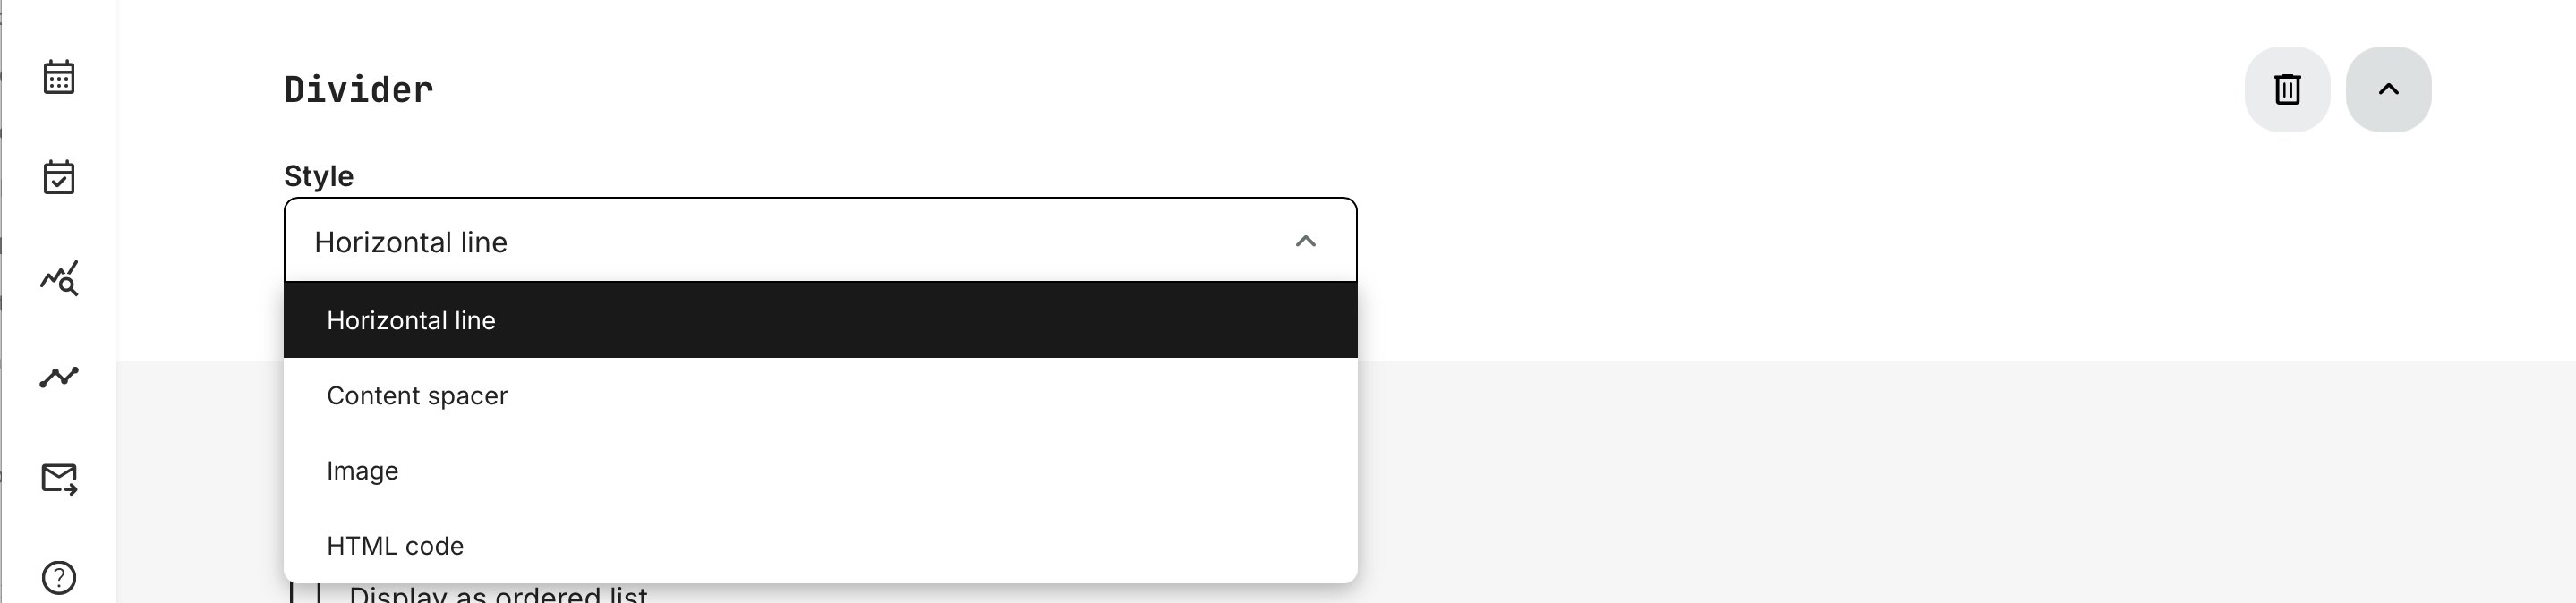
- [Horizontal line] – adds a full-width line to separate sections
- [Content spacer] – adds whitespace to create clearer visual breaks
- [Image] – supports branding and visual structure (GIF, PNG, JPG, JPEG, SVG)
- [HTML code] – lets you embed custom content and code snippets (with security-related limitations
- Display as Ordered Lists – Toggle this option if you wish to display questions in a numbered list format, which may be useful for respondents who wish to keep track of their progress – i.e. “1. [First Question]” is followed by “2. [Second Question]”
- Schedule Anonymization – This feature allows for automatic anonymization of respondents, or outright deletion of both respondents and their response data, including file uploads. When you check the box, you must decide to either…
- Anonymize user data only (answers are stored), or;
- Anonymize user data and responses (all data is deleted)
At the same time, you must select a point in time for this anonymization, whether:
- X days after submission (choose numeric value), or
- A specific date after submission (pick from calendar)
This way, your organization is able to collect valuable user information and feedback, while still being compliant and following the “keep IT safe” principle.
- Show Respondents Names and Emails in The Report – Ticking this box will enable the names and emails of your respondents to be included in reports with data extracts from this questionnaire. This is useful in cases, when follow-up communication with these users is required.
Once you are satisfied with your questionnaire, its structure and contents, simply click the green [Create] button to save it. You will be able to edit it at a later time, if needed, but a [Preview] button has also been made available for your own reviewing purposes.
Editing a Questionnaire
Once you have created a questionnaire, it will be added to the list of active questionnaires within the menu (Course Administration → Questionnaires). On the right side of its entry, you will find three buttons:
- [Preview]: Allows you to view the questionnaire as it appears to respondents
- [Create Rules]: Lets you set up certain rules related to the questionnaire such as conditional questions and activity assignments – more info below
- [More] – stylized as […]: All other questionnaire options are nestled here, including Edit, Clone, Copy Link, and Delete
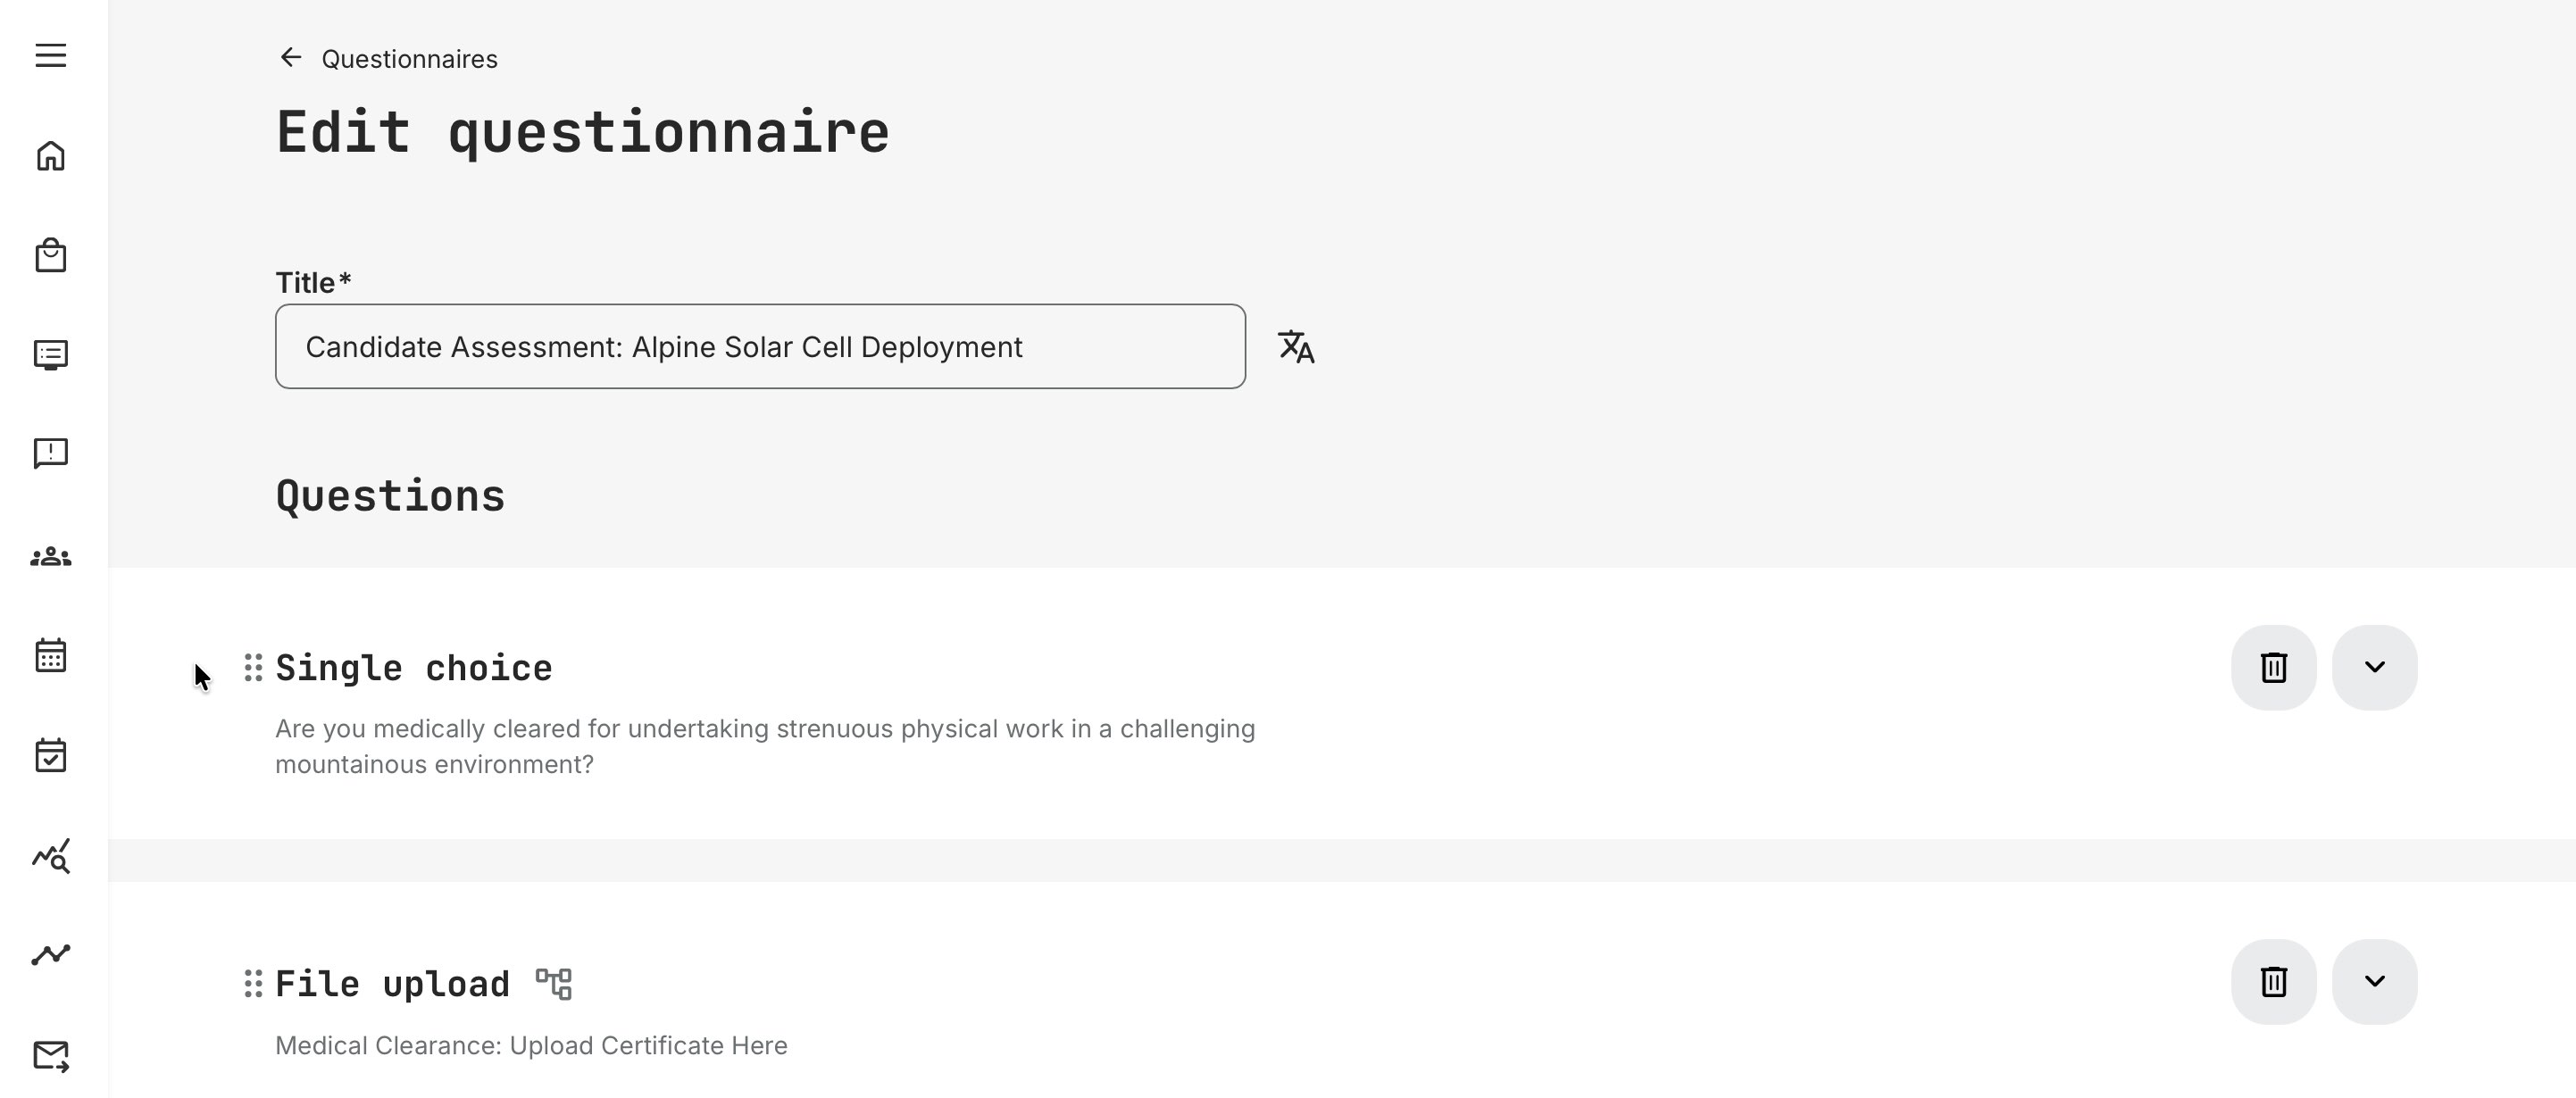
To edit a questionnaire, you can either click directly on the title of the questionnaire or click the [More] button and then choose the Edit option. This will take you straight to the Edit Questionnaire menu, where all questions and options from the creation phase are editable. Make sure to click the [Save] button at the bottom to keep all your edits when navigating away from the page.
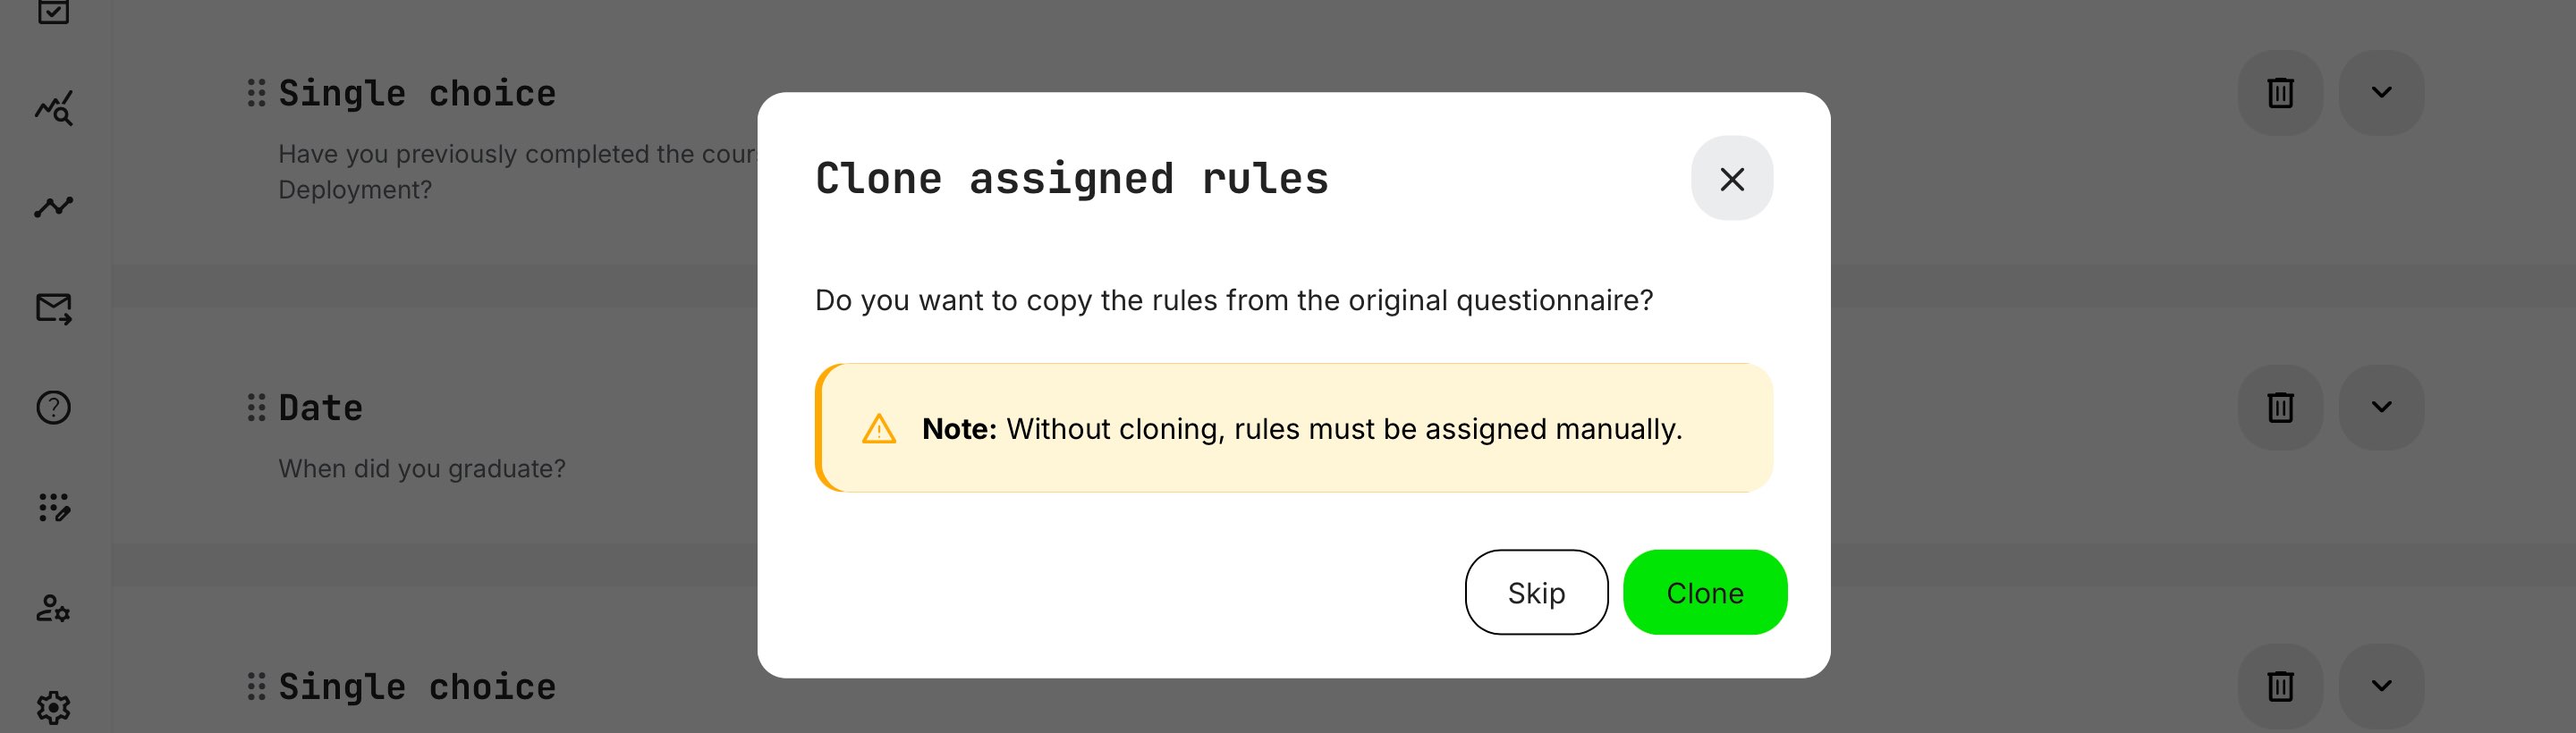
To clone a questionnaire, select [More] and choose [Clone]. During cloning, Eurekos preserves the complexity of your setup—including embedded rules such as conditional questions—so you’ll be prompted to choose how those rules should be handled in the copied version.
Create and manage Rules
Rules can only be created once a questionnaire has been successfully created, but their inclusion adds crucial value and utility to the questionnaire format by making its questions and functions both adaptive and selective. Through rules, you are able to implement the following questionnaire functionalities:
- Conditional Question: You can choose to have certain questions within the questionnaire appear only to respondents who provide specific answers to other questions. One use case could be the creation of large dropdown lists with each answer being granted its own respective dropdown list or short answer, allowing for more specific, granular answers within its category. As an example it could be deployed in a scenario of an organization requesting medical clearance or similar from participants, with those declaring themselves fit to partake being given the option of uploading documents or similar proof thereof:

Once you have added all conditional questions you wish included in the questionnaire, click [Create] to save them and proceed.
- Assign Activity: Similarly to conditional questions, you can make specific answers to questions that are posed within the questionnaire trigger automatic sign-ups of respondents to one or more activities of your choice. This might for instance be useful in cases, when respondents are expected to complete certain activities in order to qualify for others:
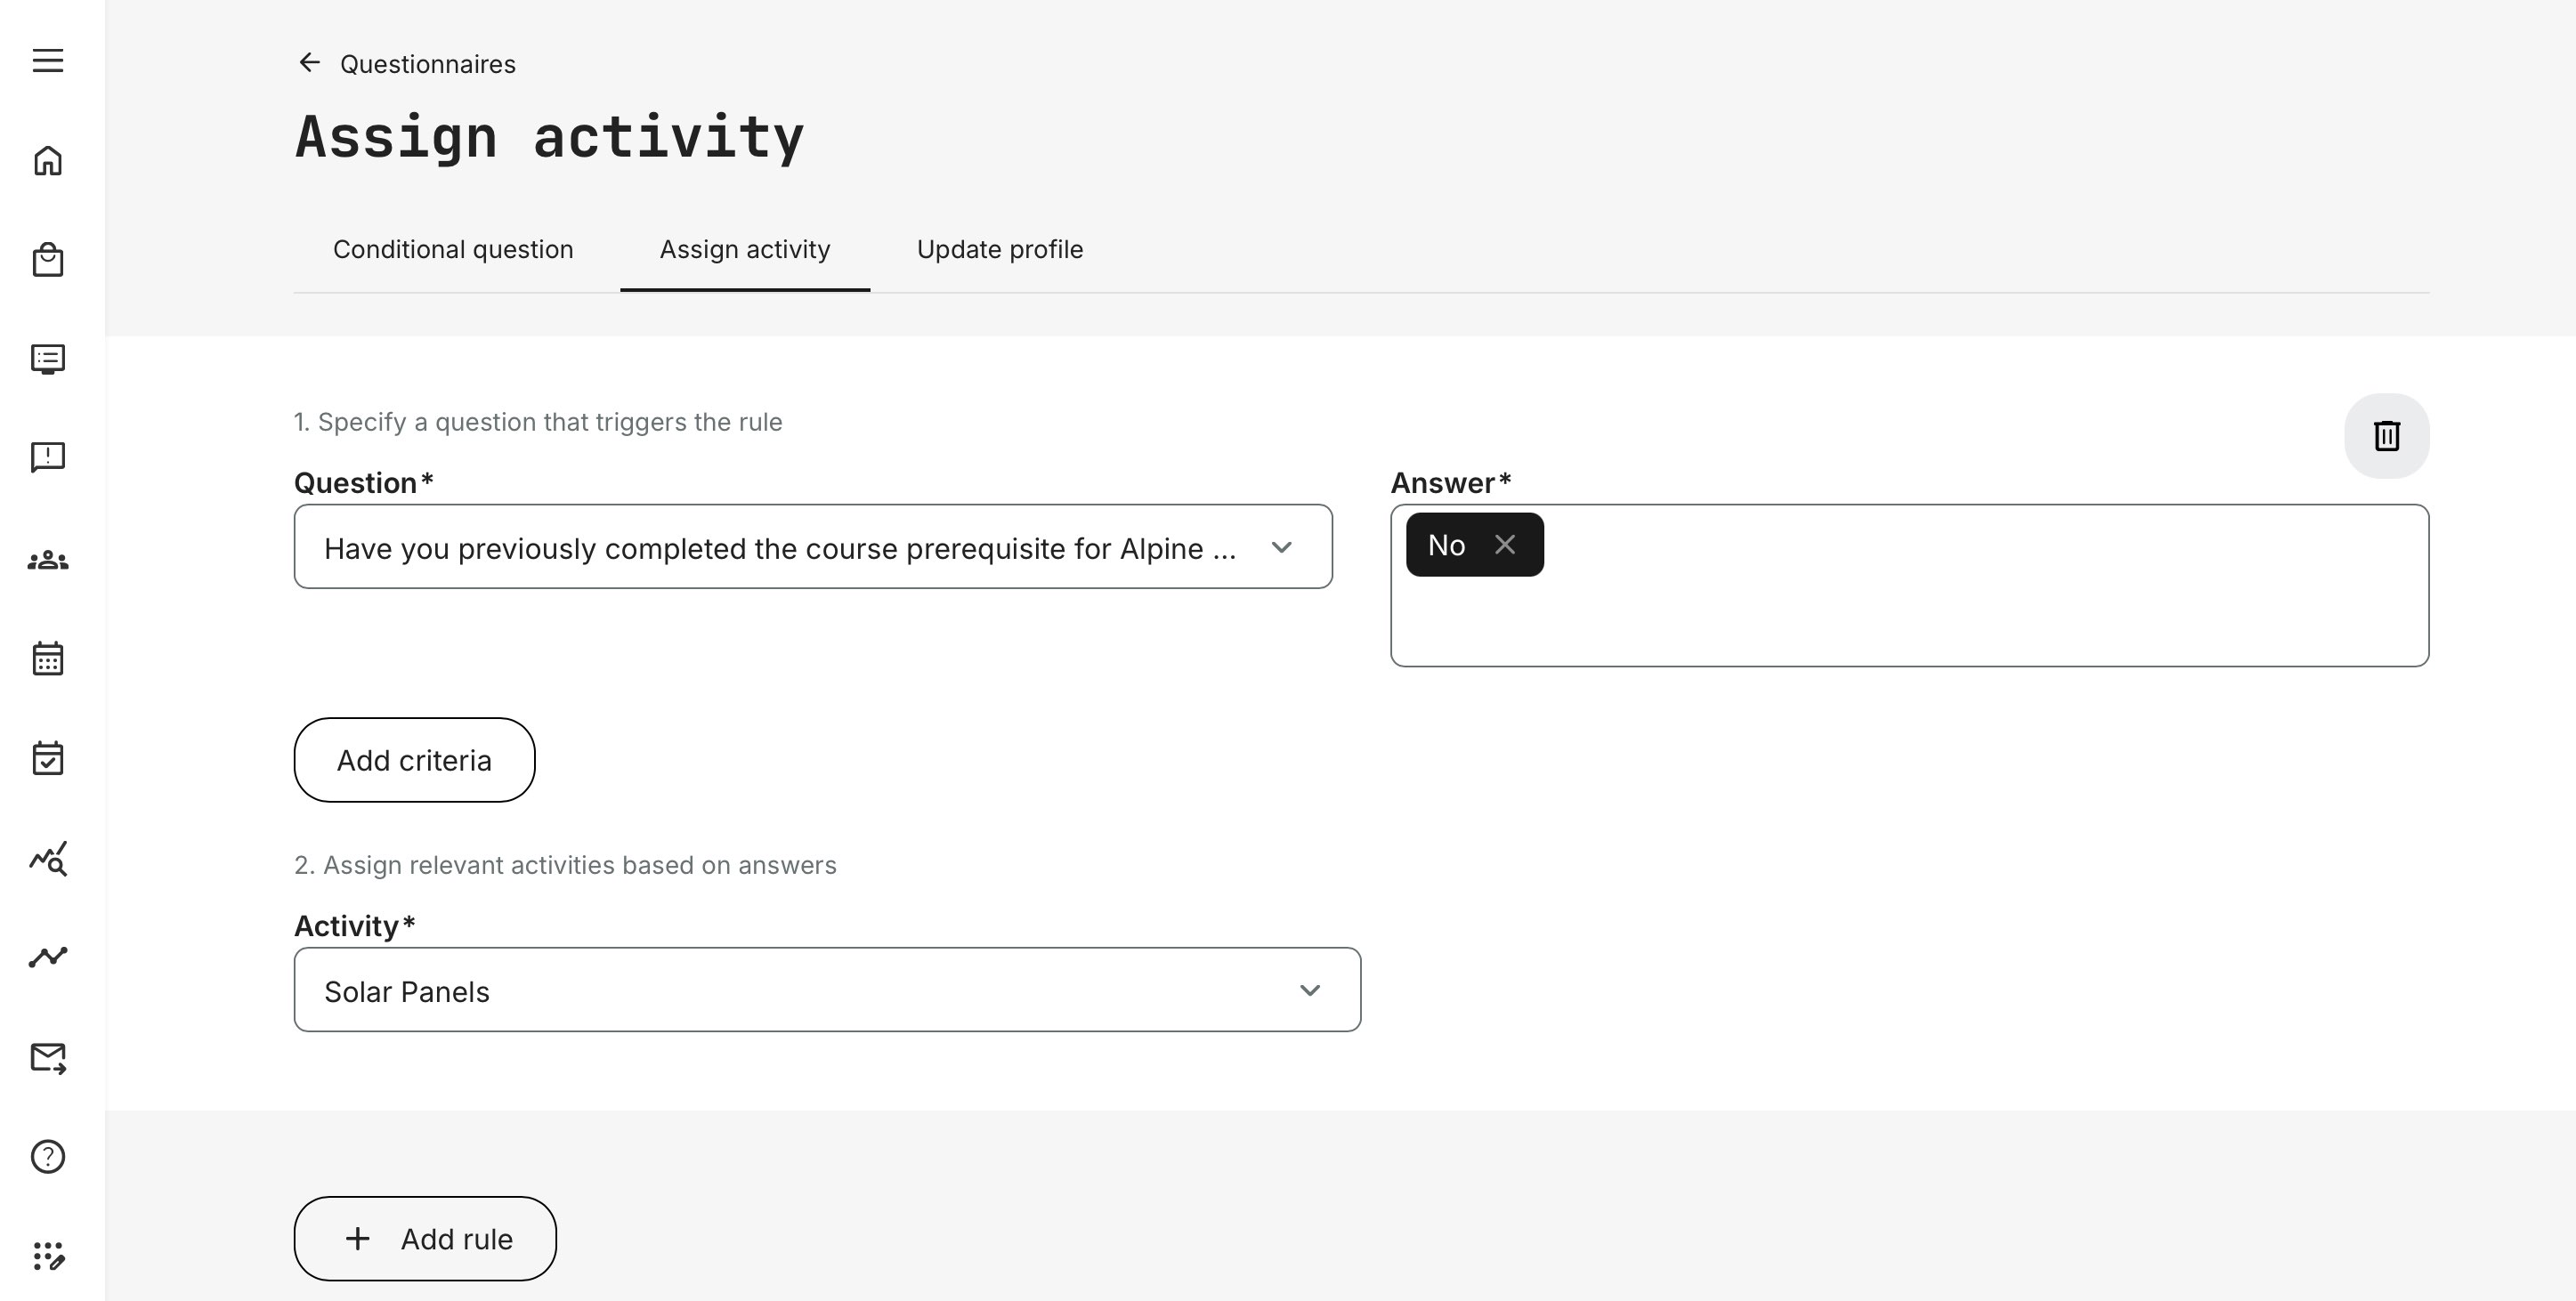
Once you have added all activity assignments you wish included in the questionnaire, click [Create] to save them and proceed.
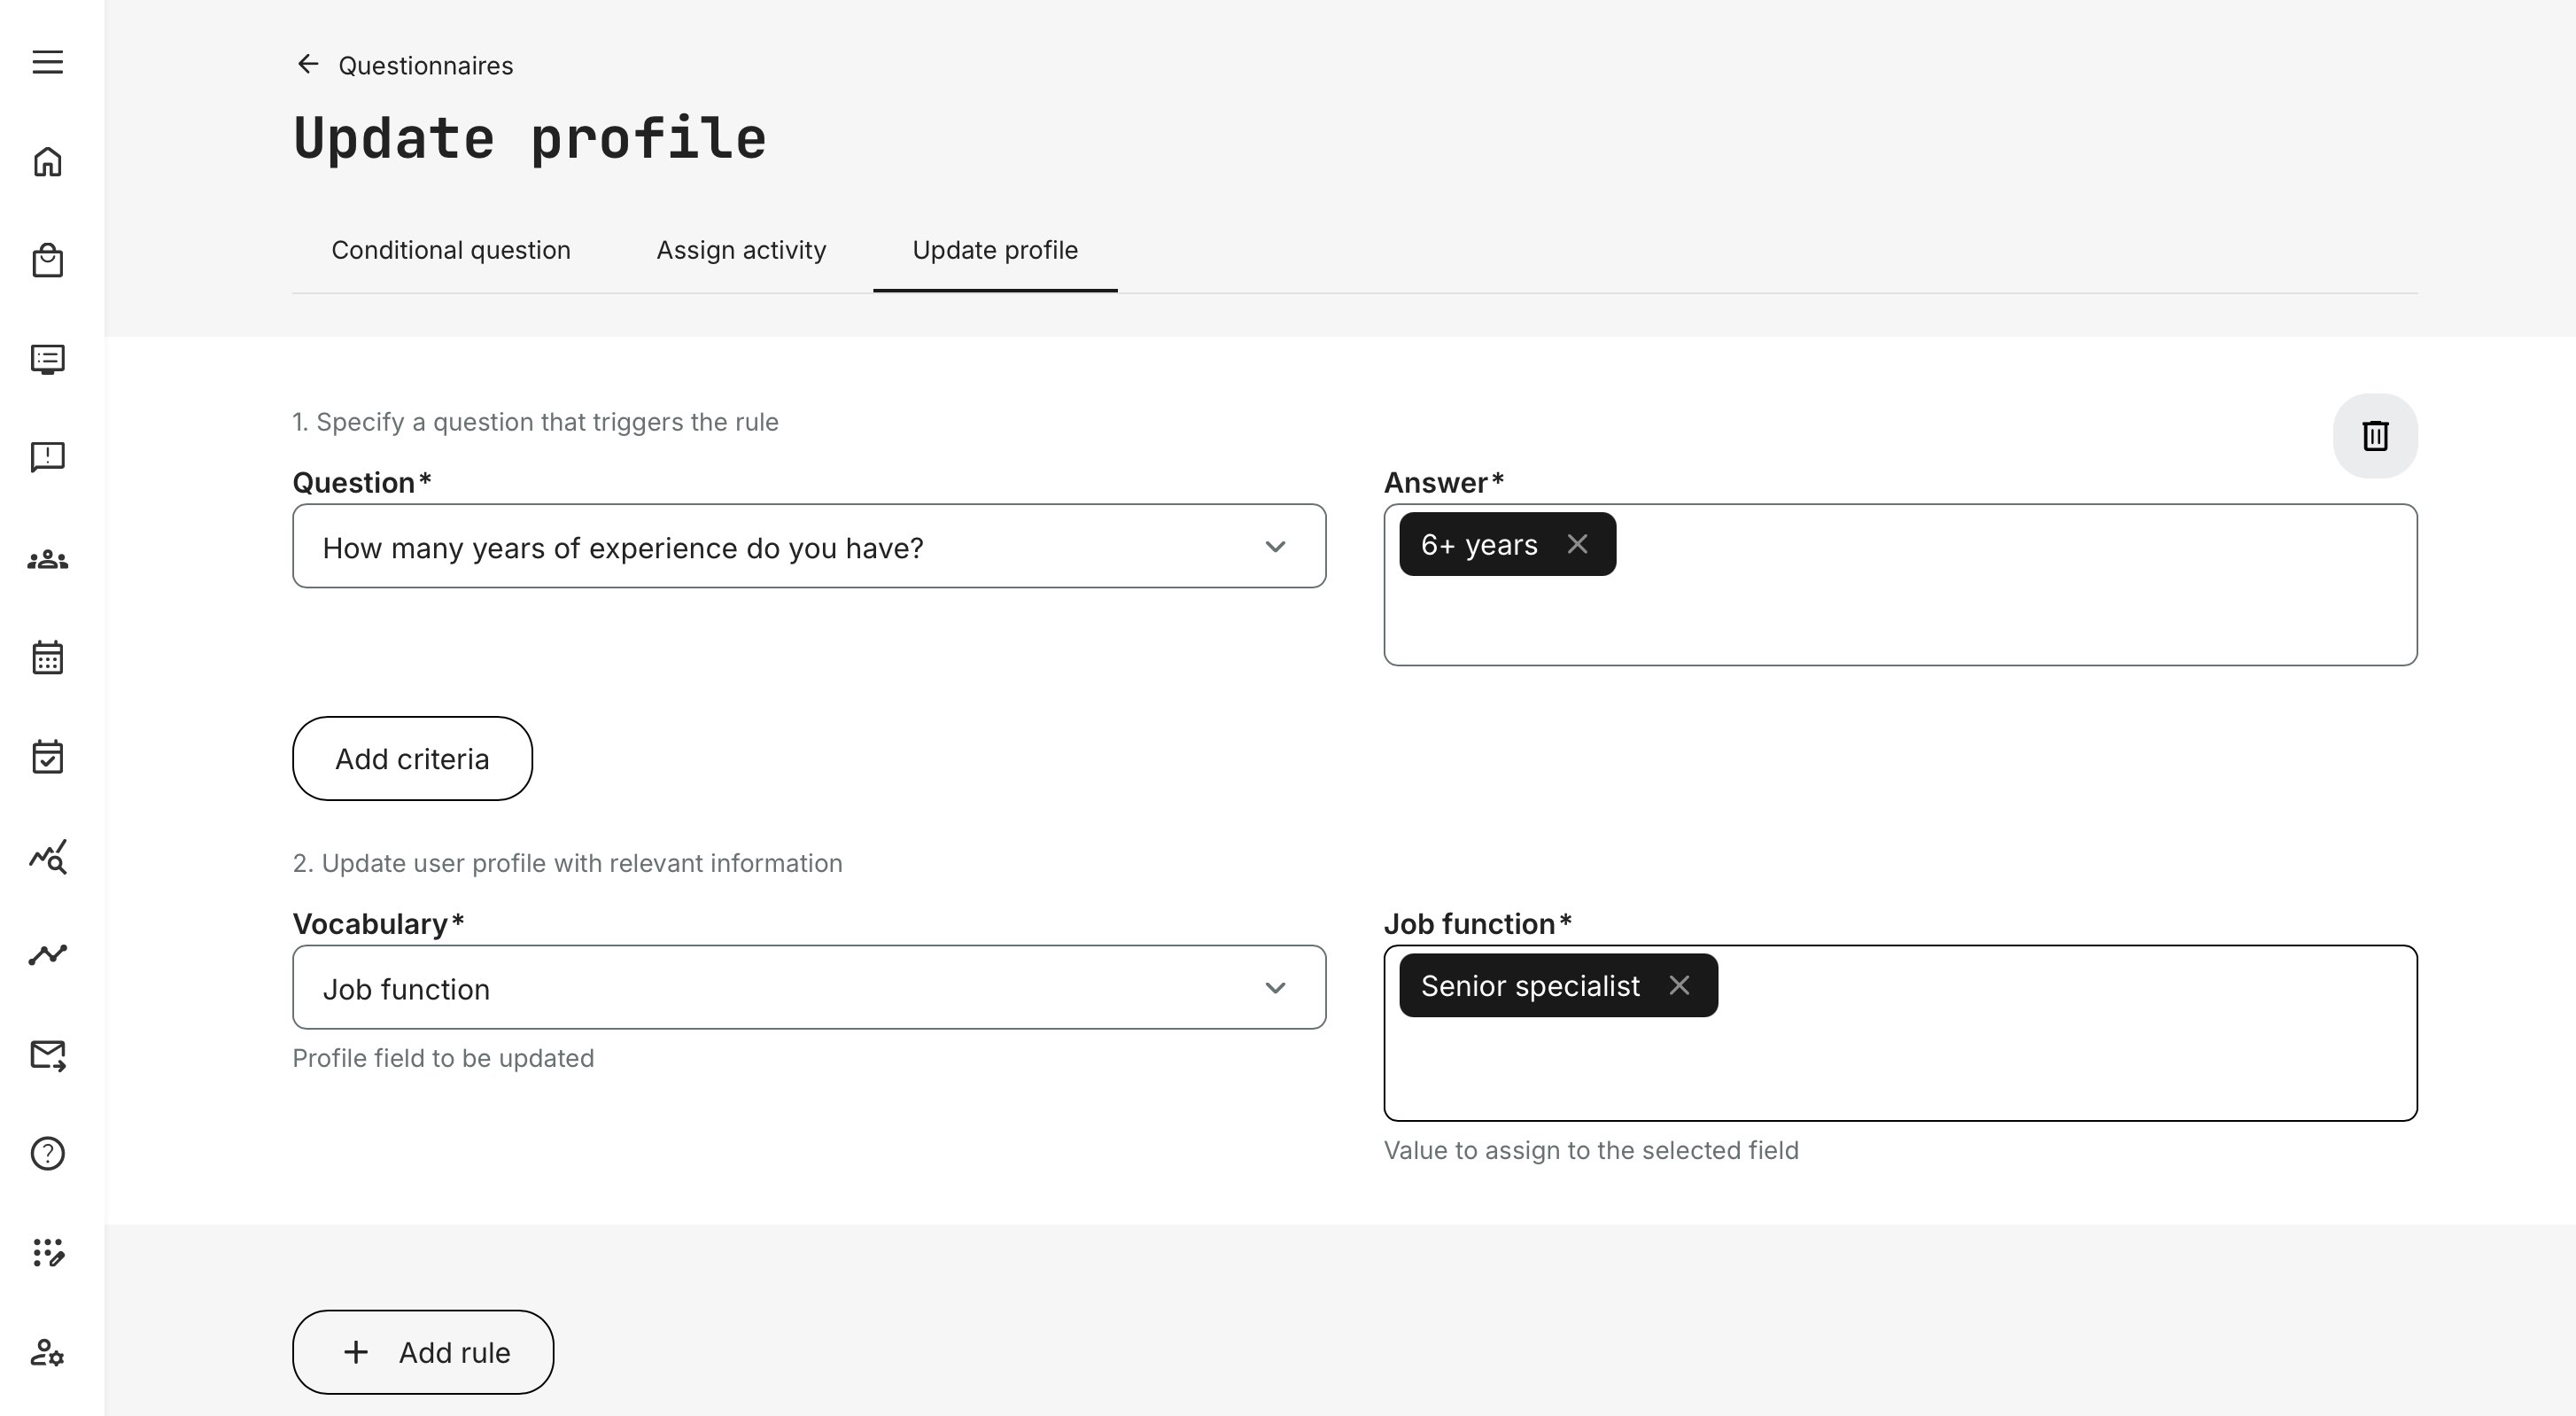
Update profile: You can configure questionnaires so that specific answers automatically update a user’s profile. For example, you might assign an organizational relationship—or ask How many years of experience do you have? and use the response to set the appropriate job profile (or level) for that user. Once the profile is updated, the impact can extend beyond the questionnaire itself. It can, for instance nfluence what the user sees in the Storefront (recommended courses, targeted offerings), and/or trigger additional automation rules elsewhere in the platform—such as automatically enrolling the user in a relevant training based on their profile setting.
Once you have added all profile updates you wish included in the questionnaire, click [Create] to save them and proceed.