Course page editing - Article
Cut down the learning curve with the easy editing interface
Use the editing interface to add your course assets and start enriching your course pages with amazing videos and graphics.
To enter the Edit Mode, click on the pen icon on the top-right. This option is available when you have permission to edit a course page.
Edit mode
To your right, you have a set of page templates along with the Save and Cancel buttons. Any page will have the same functions available. Changes are instant, when you save a page. Choose one of the available templates.
- Each has a column design. It is responsive and adaptive, so it will automatically adjust and convert to mobile units and other screen sizes. No actions needed on your side.
- You can insert any number of elements in each column.
- You can change to a new template any time.
Adding content to a page
To choose and add the necessary type of content, click the Plus icon wherever you would like to insert it.
- Each of the Plus icons demonstrate that you can insert content at this position, above or below an existing object.
- Move your mouse or trackpad to hover over any object to get options presented.
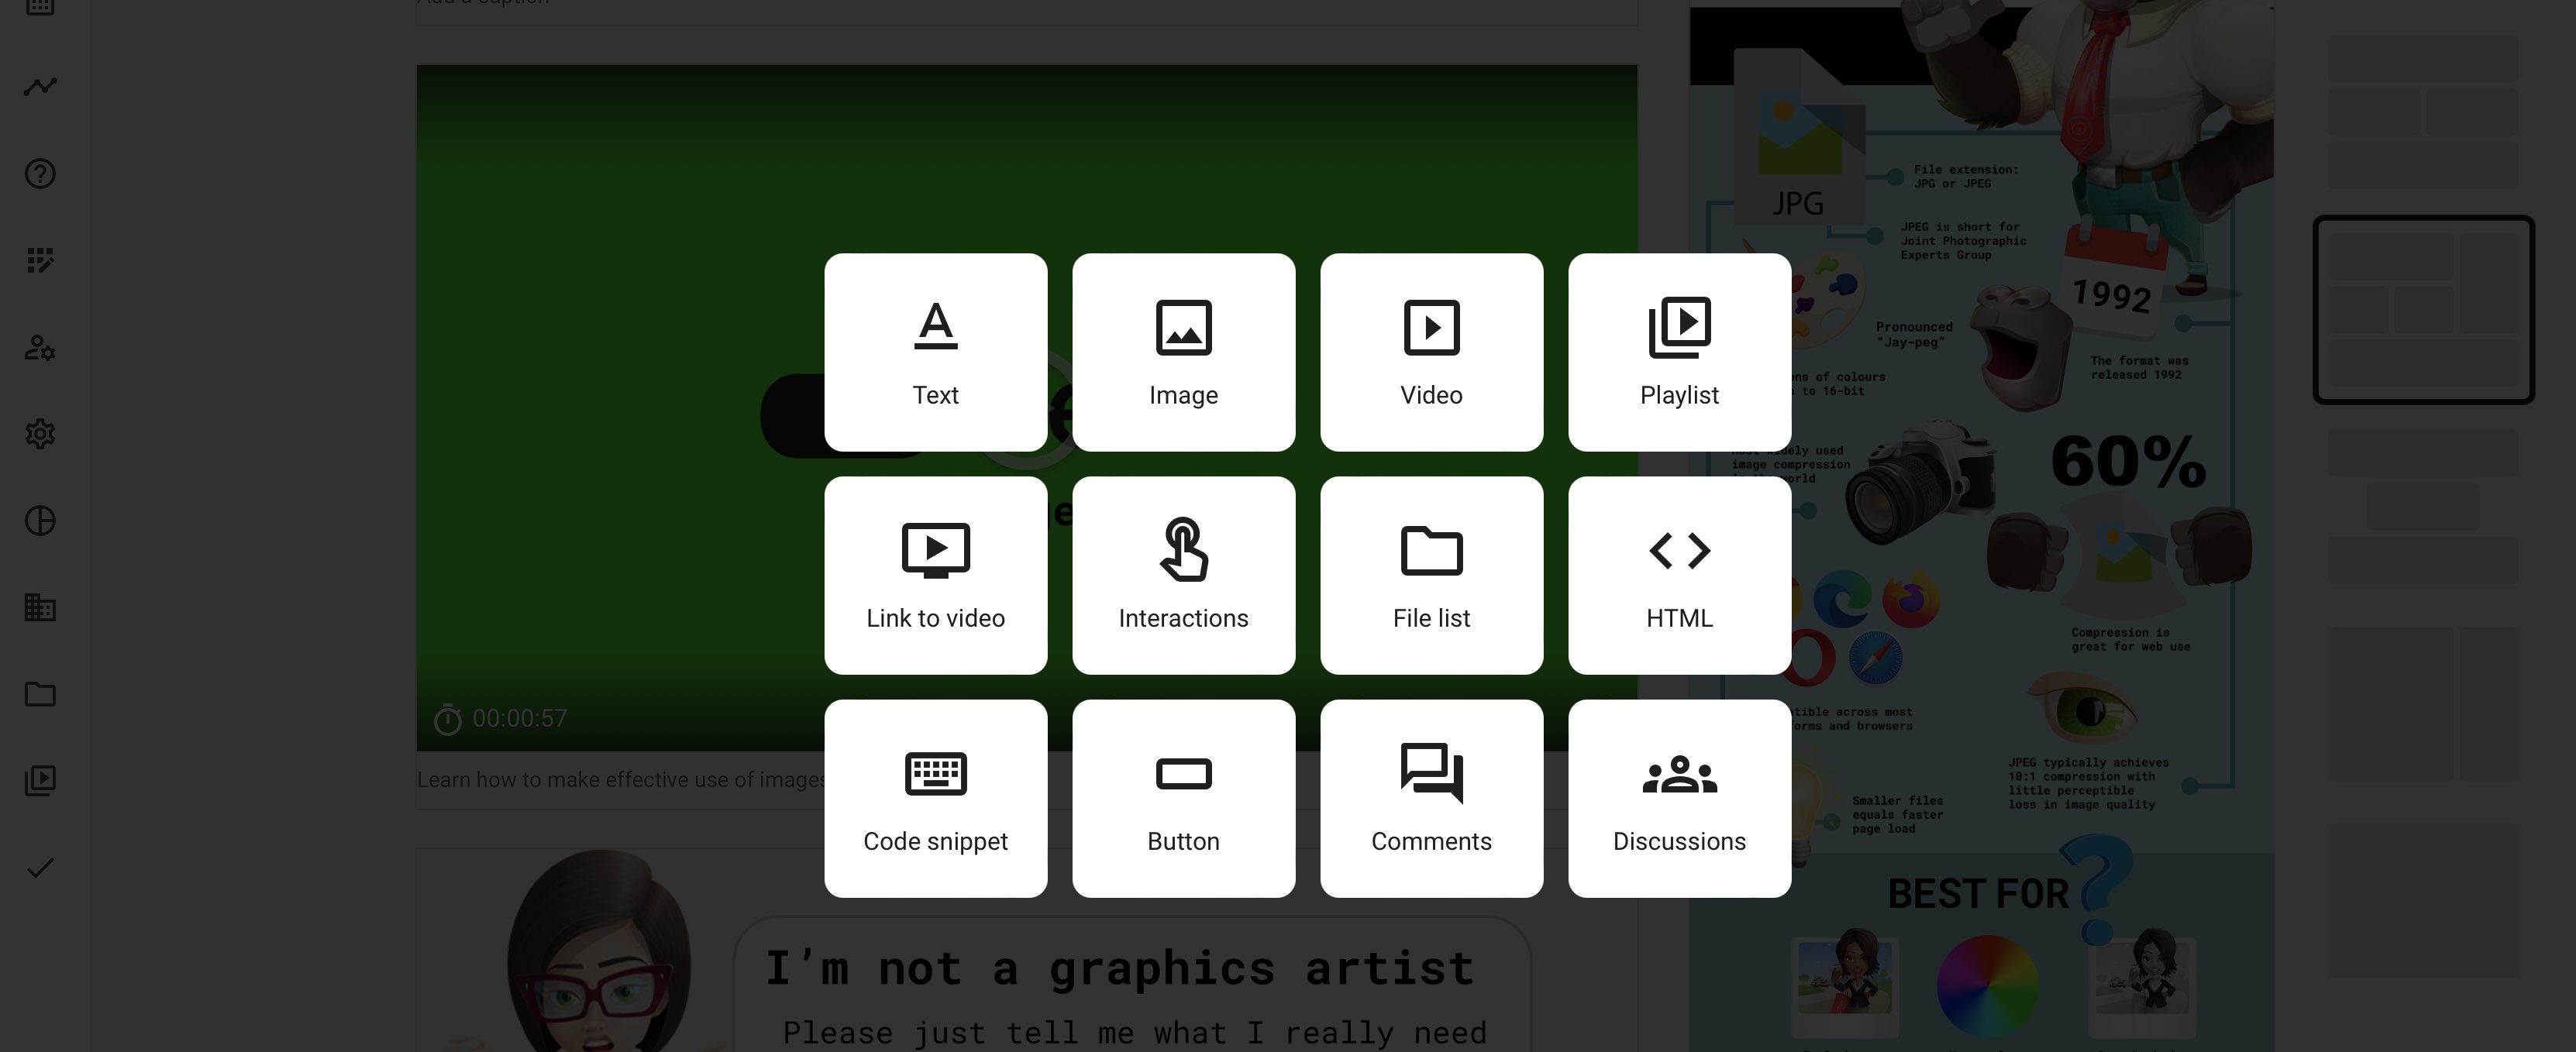
Once you click the Plus icon, a carefully selected set of tools will allow you to insert or create new content at the position you have chosen. Each of these options are described separately.
You can have prepared videos and other content, already added them to the archives or upload these on the fly.
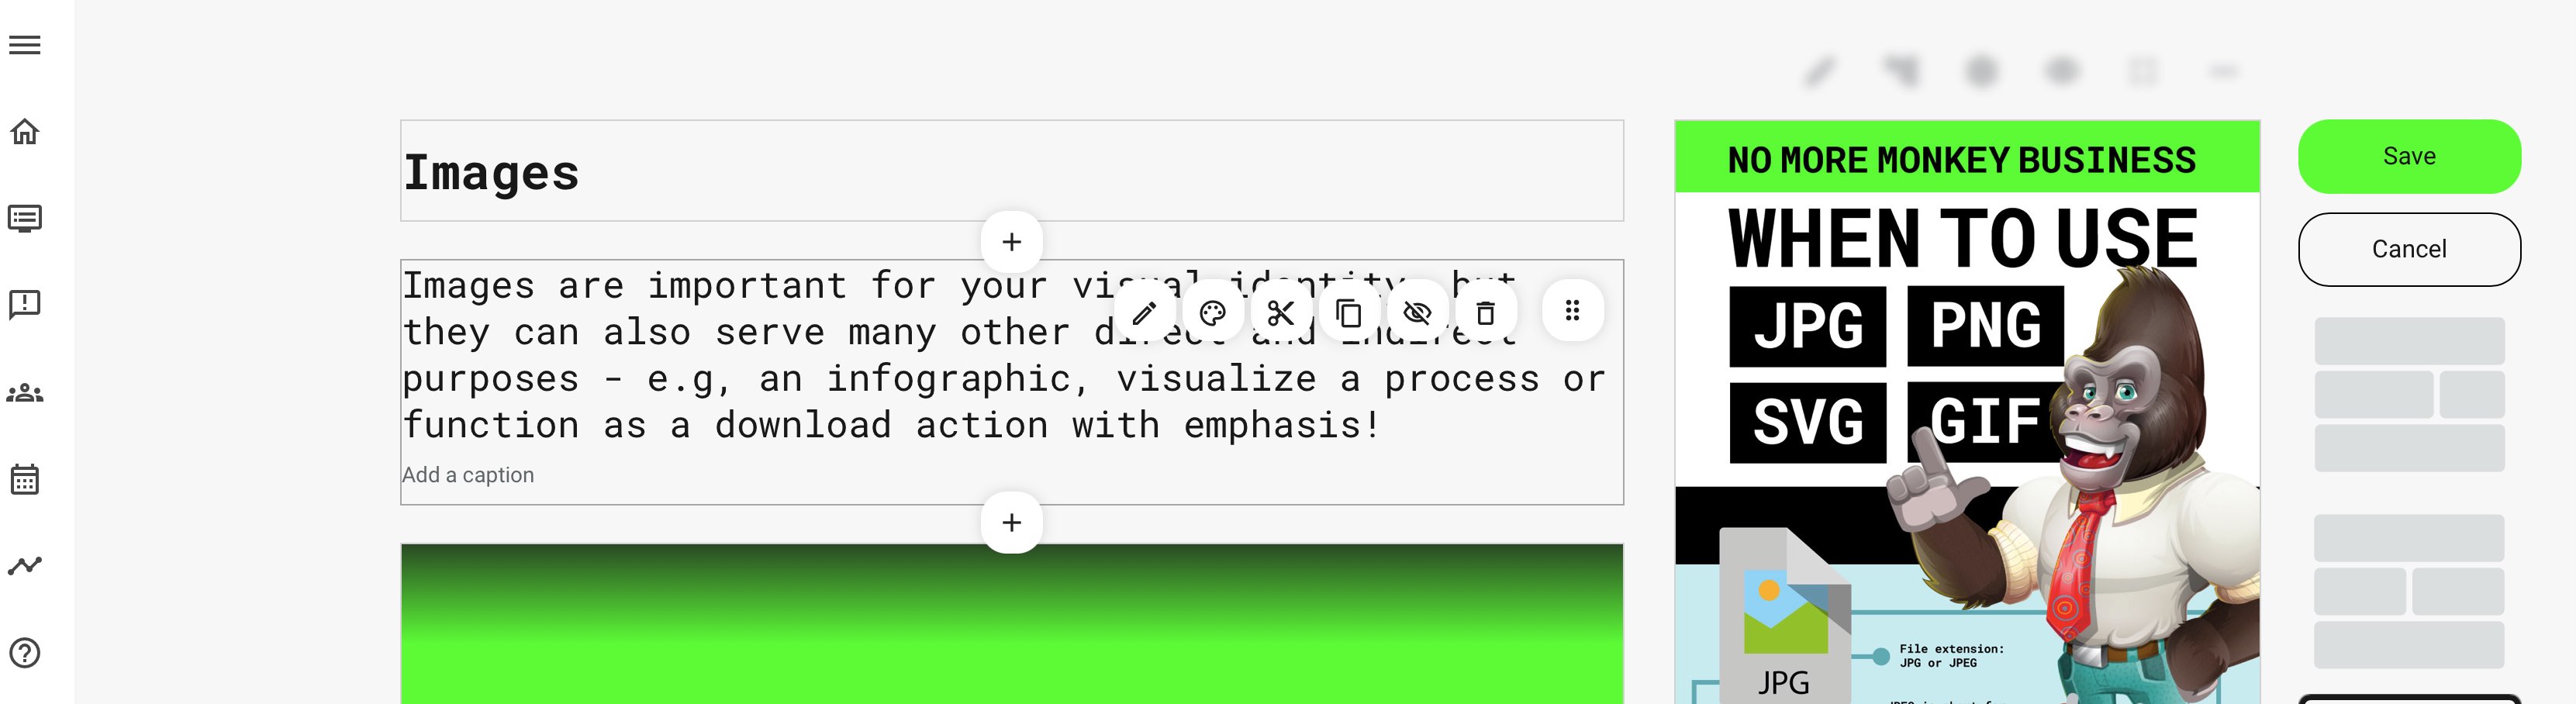
Object toolbars
When you paste the selected object to the page, you get access to its Object Toolbar.
Hover over existing content objects to show the toolbar.
The toolbar shows options, available:
- Edit on the Pen icon, which will open the relevant option for the content type.
- Cut and paste via the Scissor icon to insert objects by scrolling on page for better efficiency.
- Duplicate an object and insert it on another position on the Double Rectangle icon. You can also insert it on a different page or course if you navigate away from this page.
- Use the Eye icon to hide this object from the page. You can unhide again.
- Use the Trash icon to remove the object. It will not be truly removed until you save the page.
- Press and hold the 6 dots handle icon to drag the object to a different column/rubric on the page.
Each content type might have its own unique object toolbar options. Also, some content objects cannot be deleted, as they are mandatory. These are:
- The course and page title. They are a required elements.
- The course banner. This could be a video, a playlist and not necessarily an image. But it must be represented on the first page of your course. This is used to identify the course visually by participants and by other system features.
Revisions and no regrets
Anything you do in edit mode is not saved, until you actually click Save. If you regret your actions, simply click Cancel. Once you do save a change on a page, you automatically have historical revisions and no regrets.
- You can revert to previous saved revisions of your page. Access this option on the 3 dots and choose revisions, to access previously saved iterations.
- Other options lets you send for review, view version history and make comments on each version. A new version goes to the next higher number - e.g., 2.xxx and clones your course to keep the previous version intact.